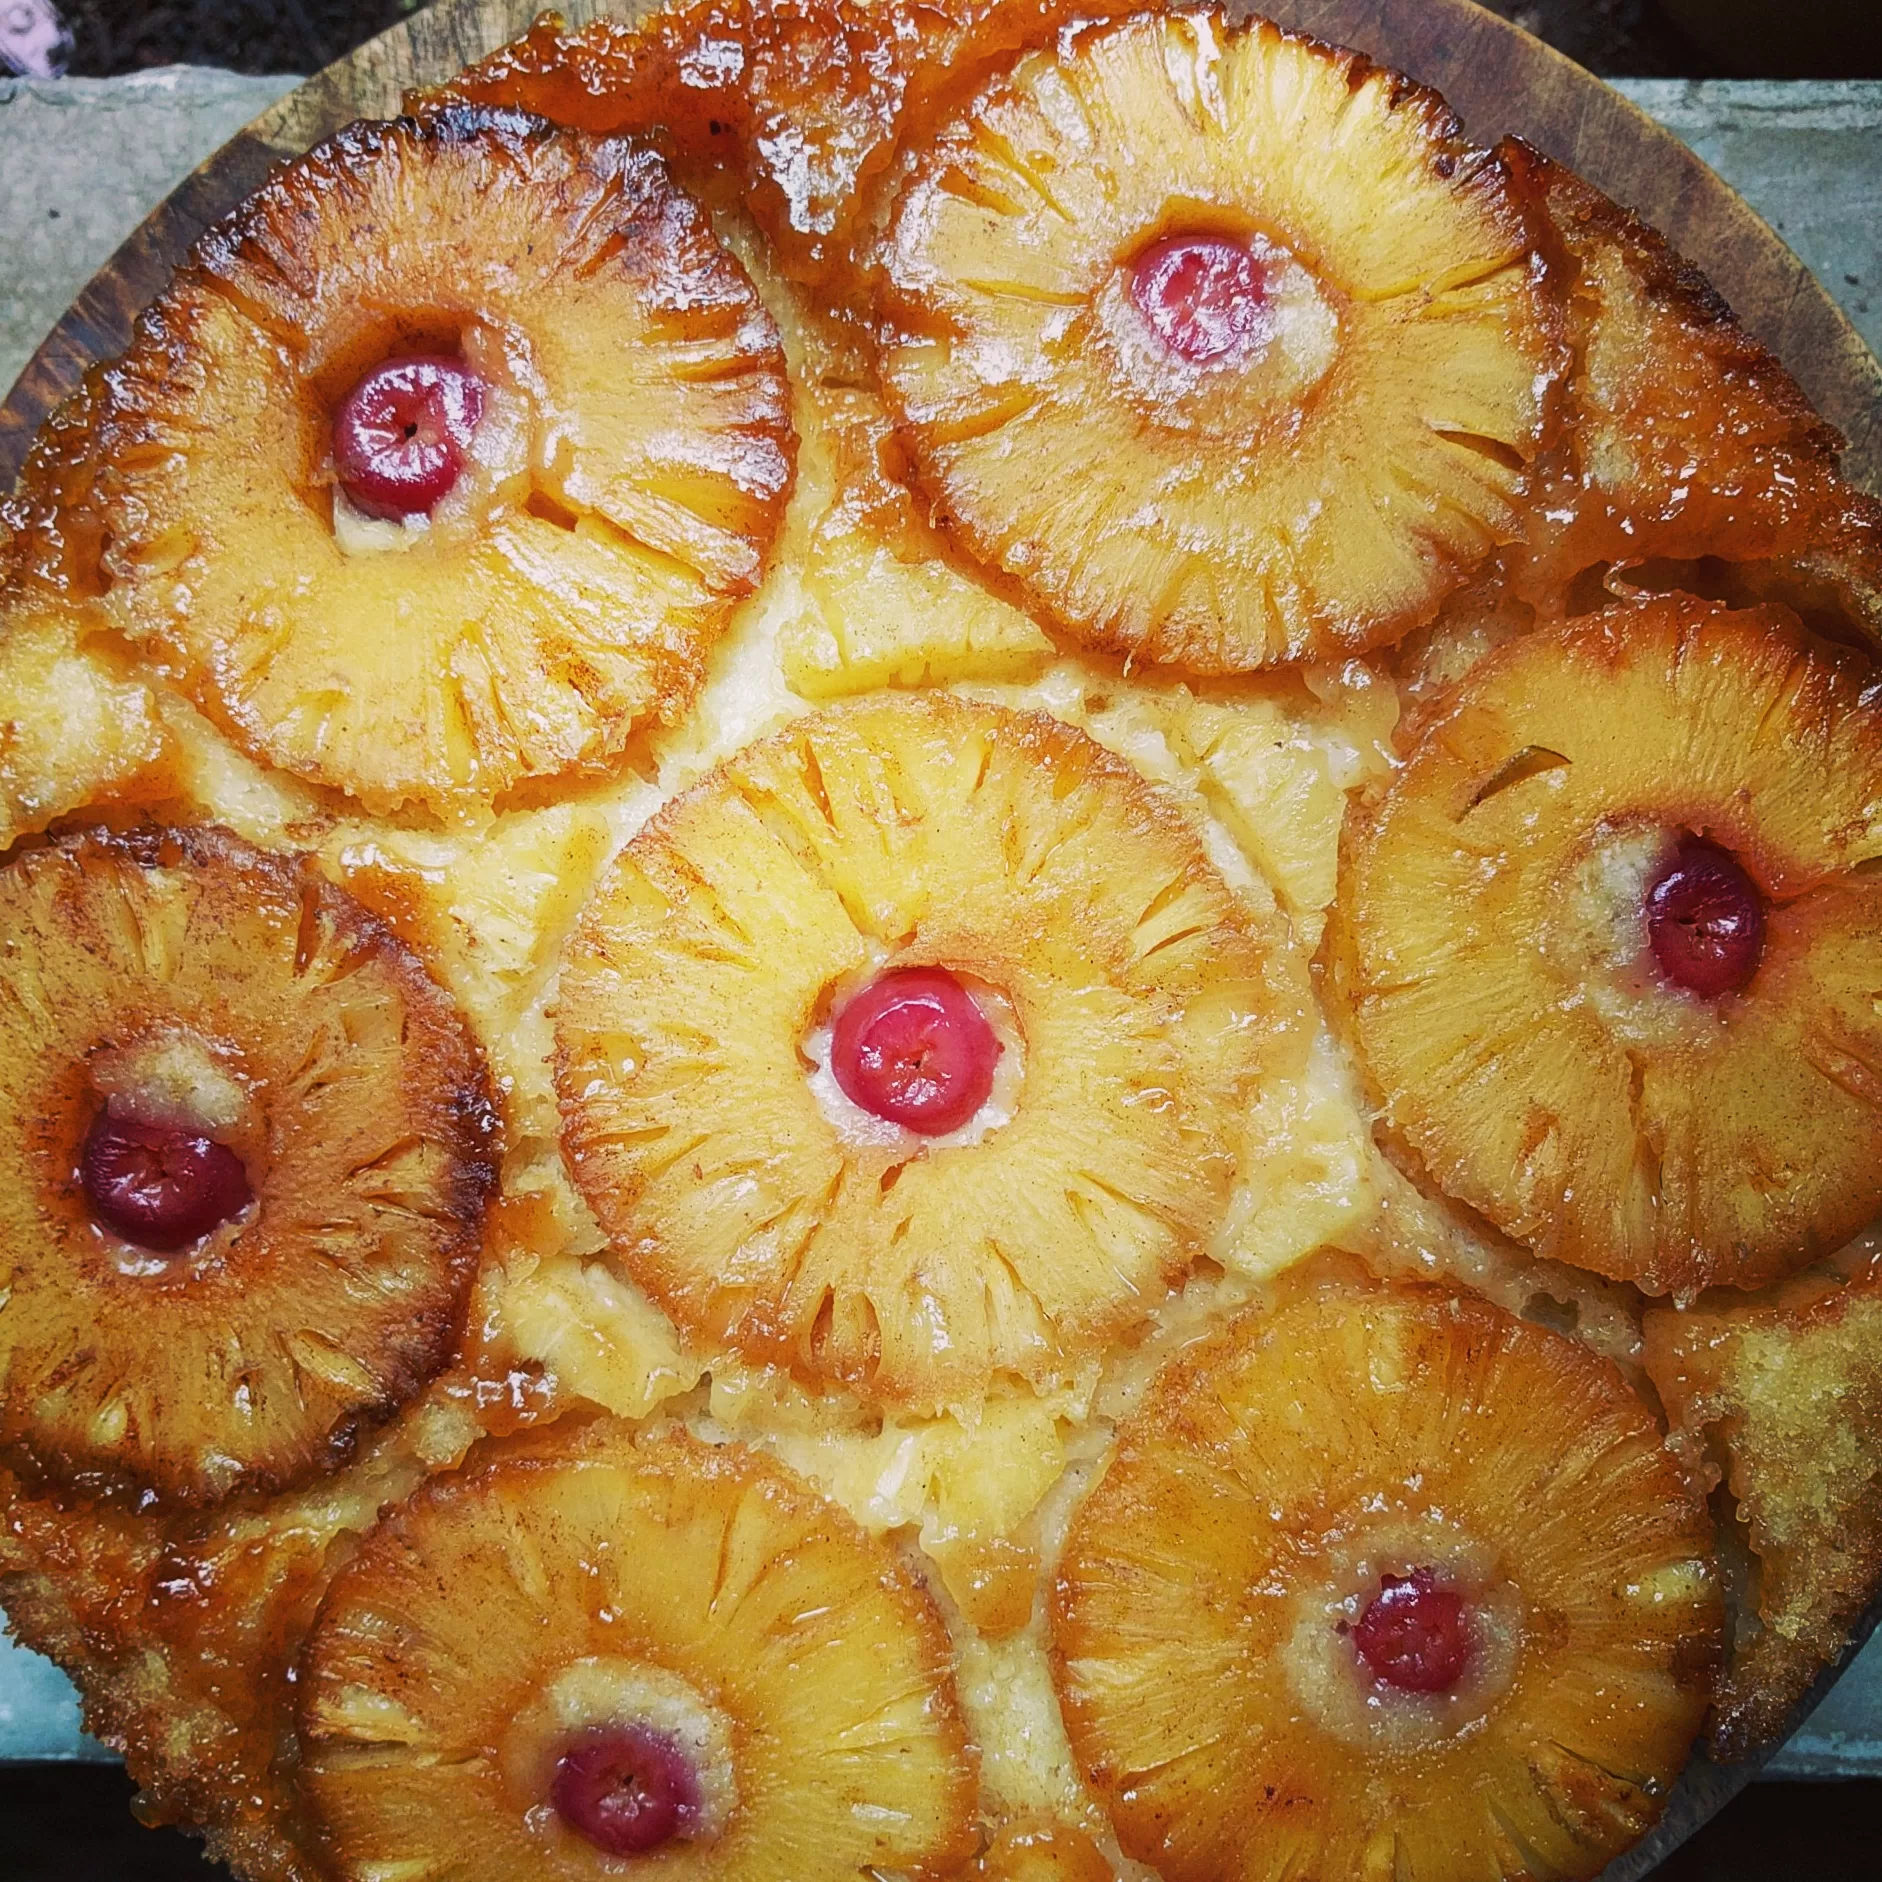
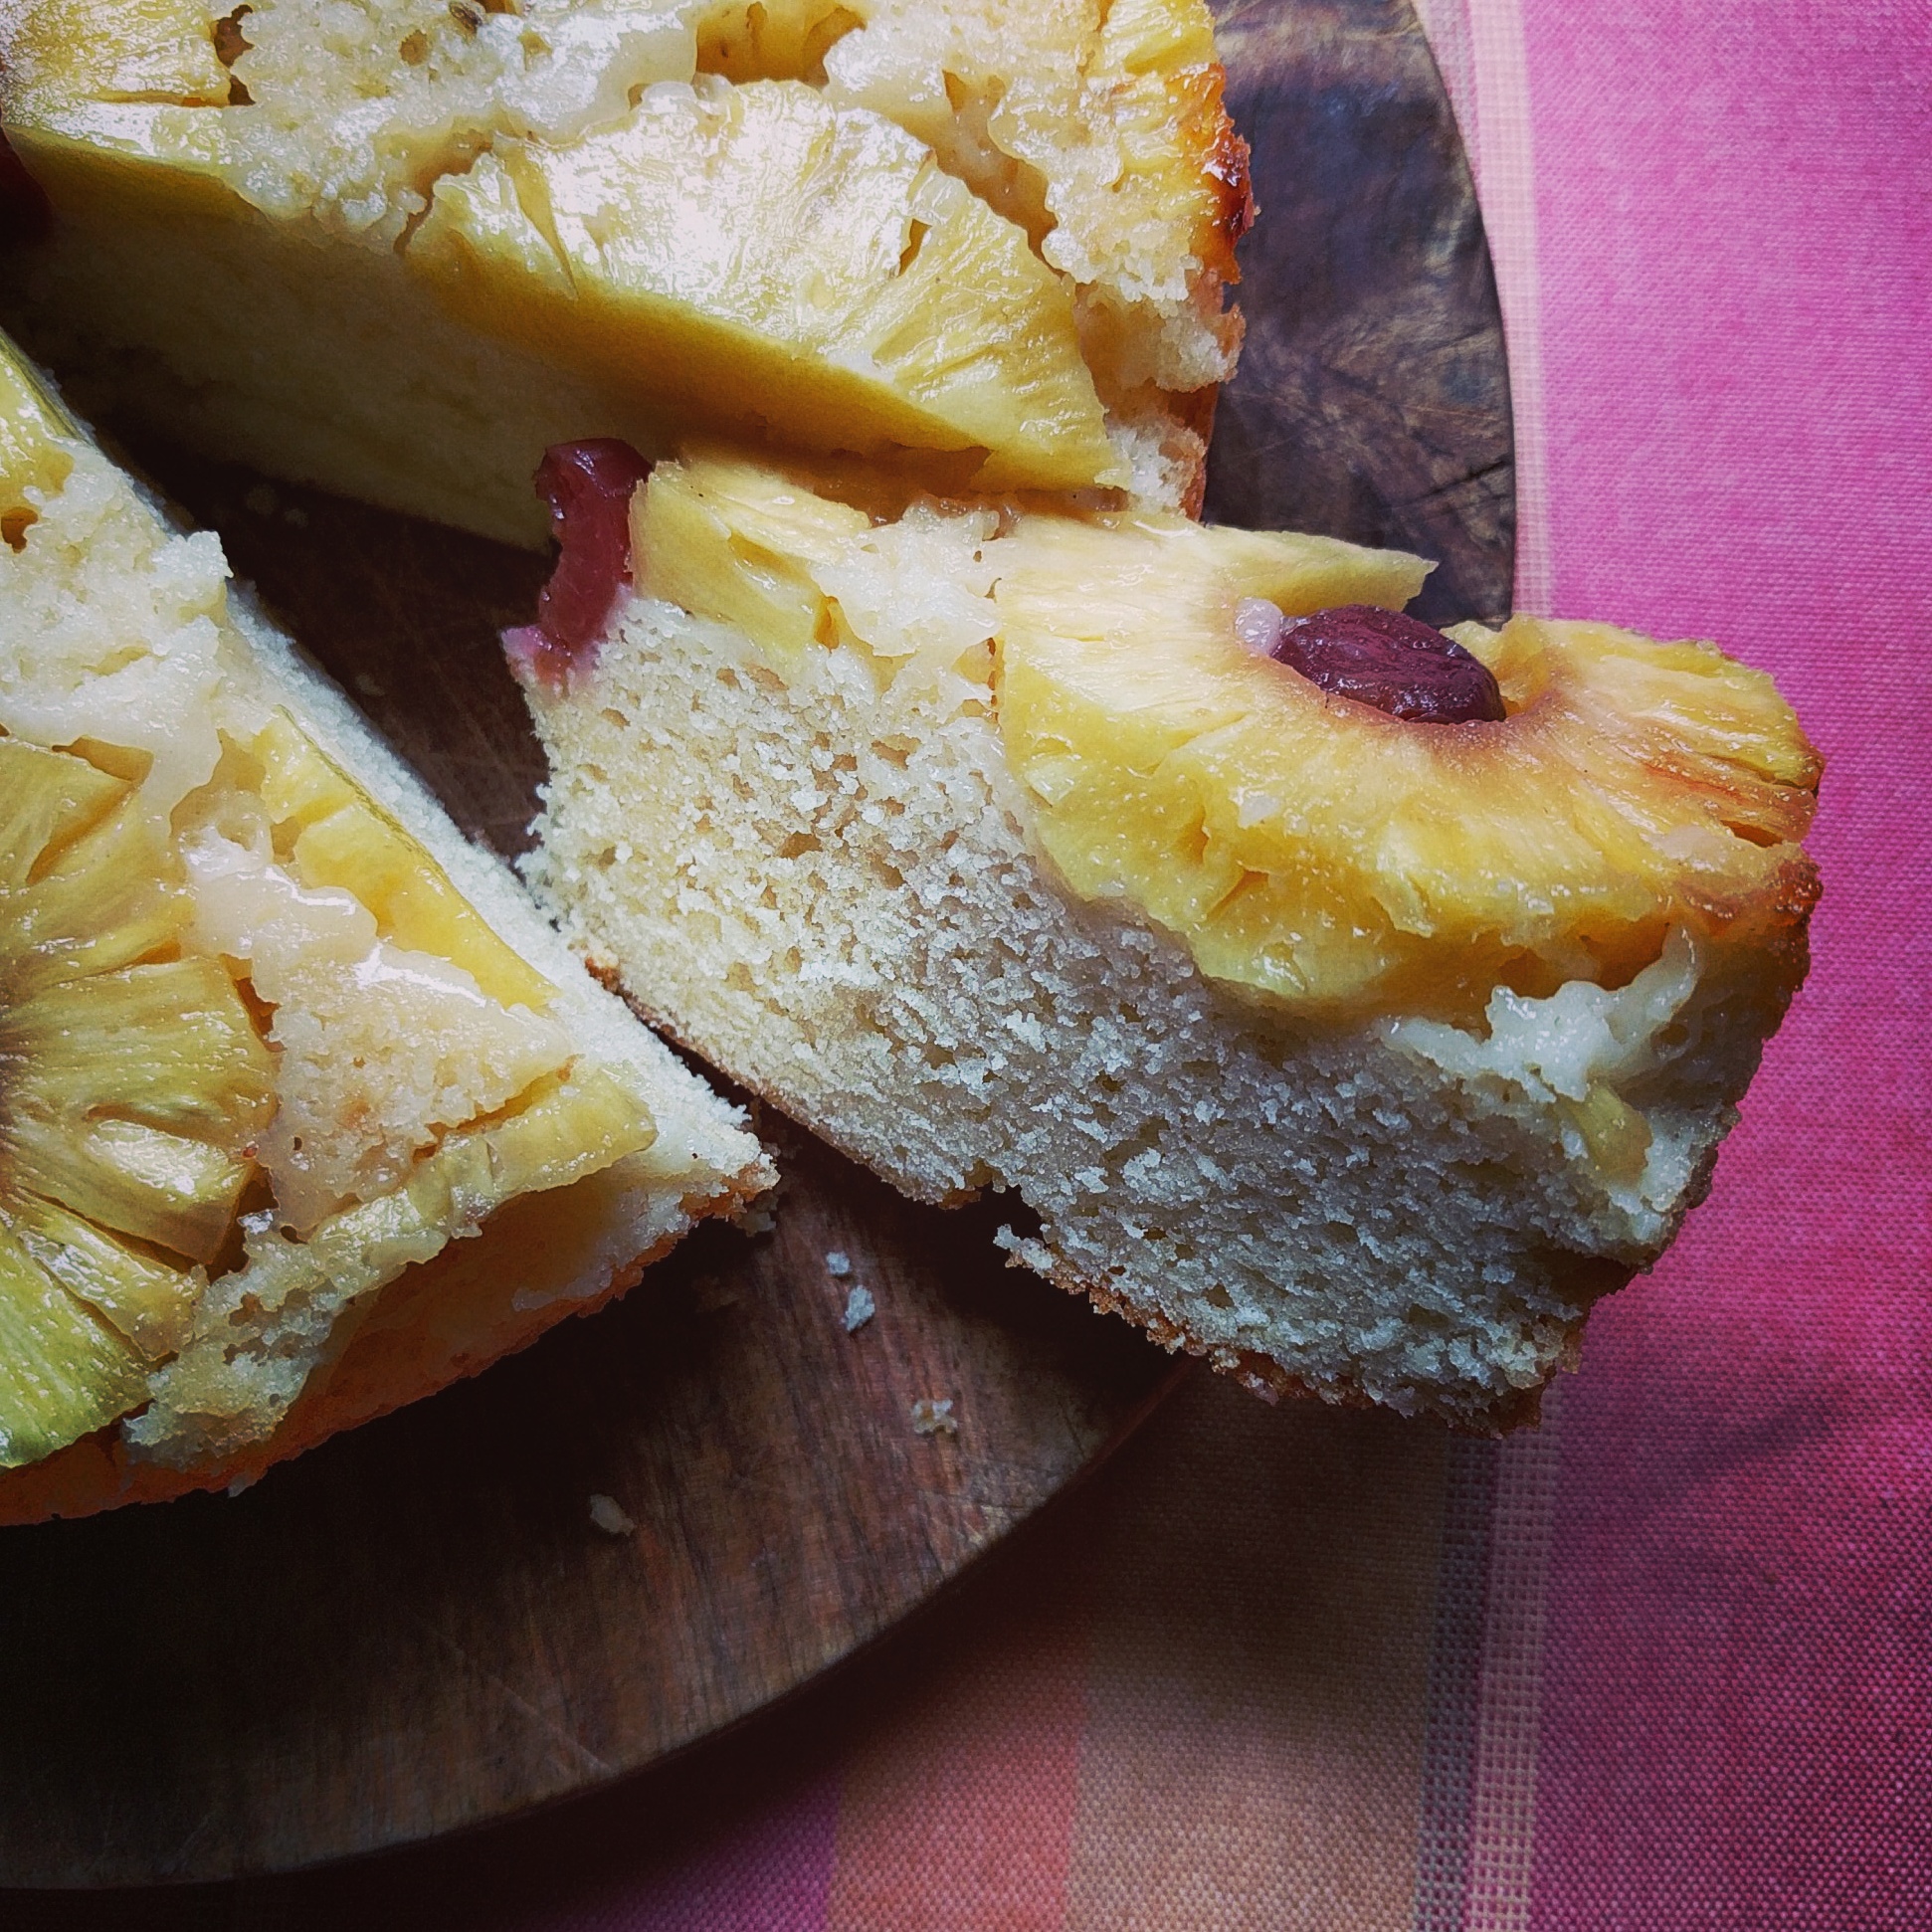
The Pineapple Upside-down cake was never my favourite sort of cake. Most of the time it’d be dry or overtly sweet, and somehow, cooked pineapple was never something I was a really big fan of (case in point, Hawaiian pizzas). I do remember growing up with picture of this cake in magazines and cookbooks with its perfectly circular rings of pineapple with bright red cherries in the middle as a symbol of a ‘higher’ culinary artform that I never expected to achieve.
The neatness and precision of those picture-perfect cakes with their golden rings of fruit seemed like a standard one could only achieve at a professional level. Now I can’t really claim that the version of this cake that I rendered matches up to the levels of those magazine spread cakes from the 80s, but with all the skills and techniques I’ve picked up over the past few years of culinary expectation, I can safely claim that this is my own special version of the cake.
It took two attempts to perfect the recipe; the first time I wedged in little chunks of butter between the slices of pineapple, which were meant to melt and sizzle with the layer of sugar under, but instead they flowed right out of the edges of my springform tin and washed the sugar out with them, making a burnt caramel mess in my oven. This also yielded an unusually pale pineapple layer.

I’d recommend using a normal, closed 8″ baking tin for this one, as it would allow the juices to stew at the bottom with the sugar and caramelise and cook it some more. Flipping the cake out of the tin might be harder, but if it cooks and bakes well, it should pop out in one piece.
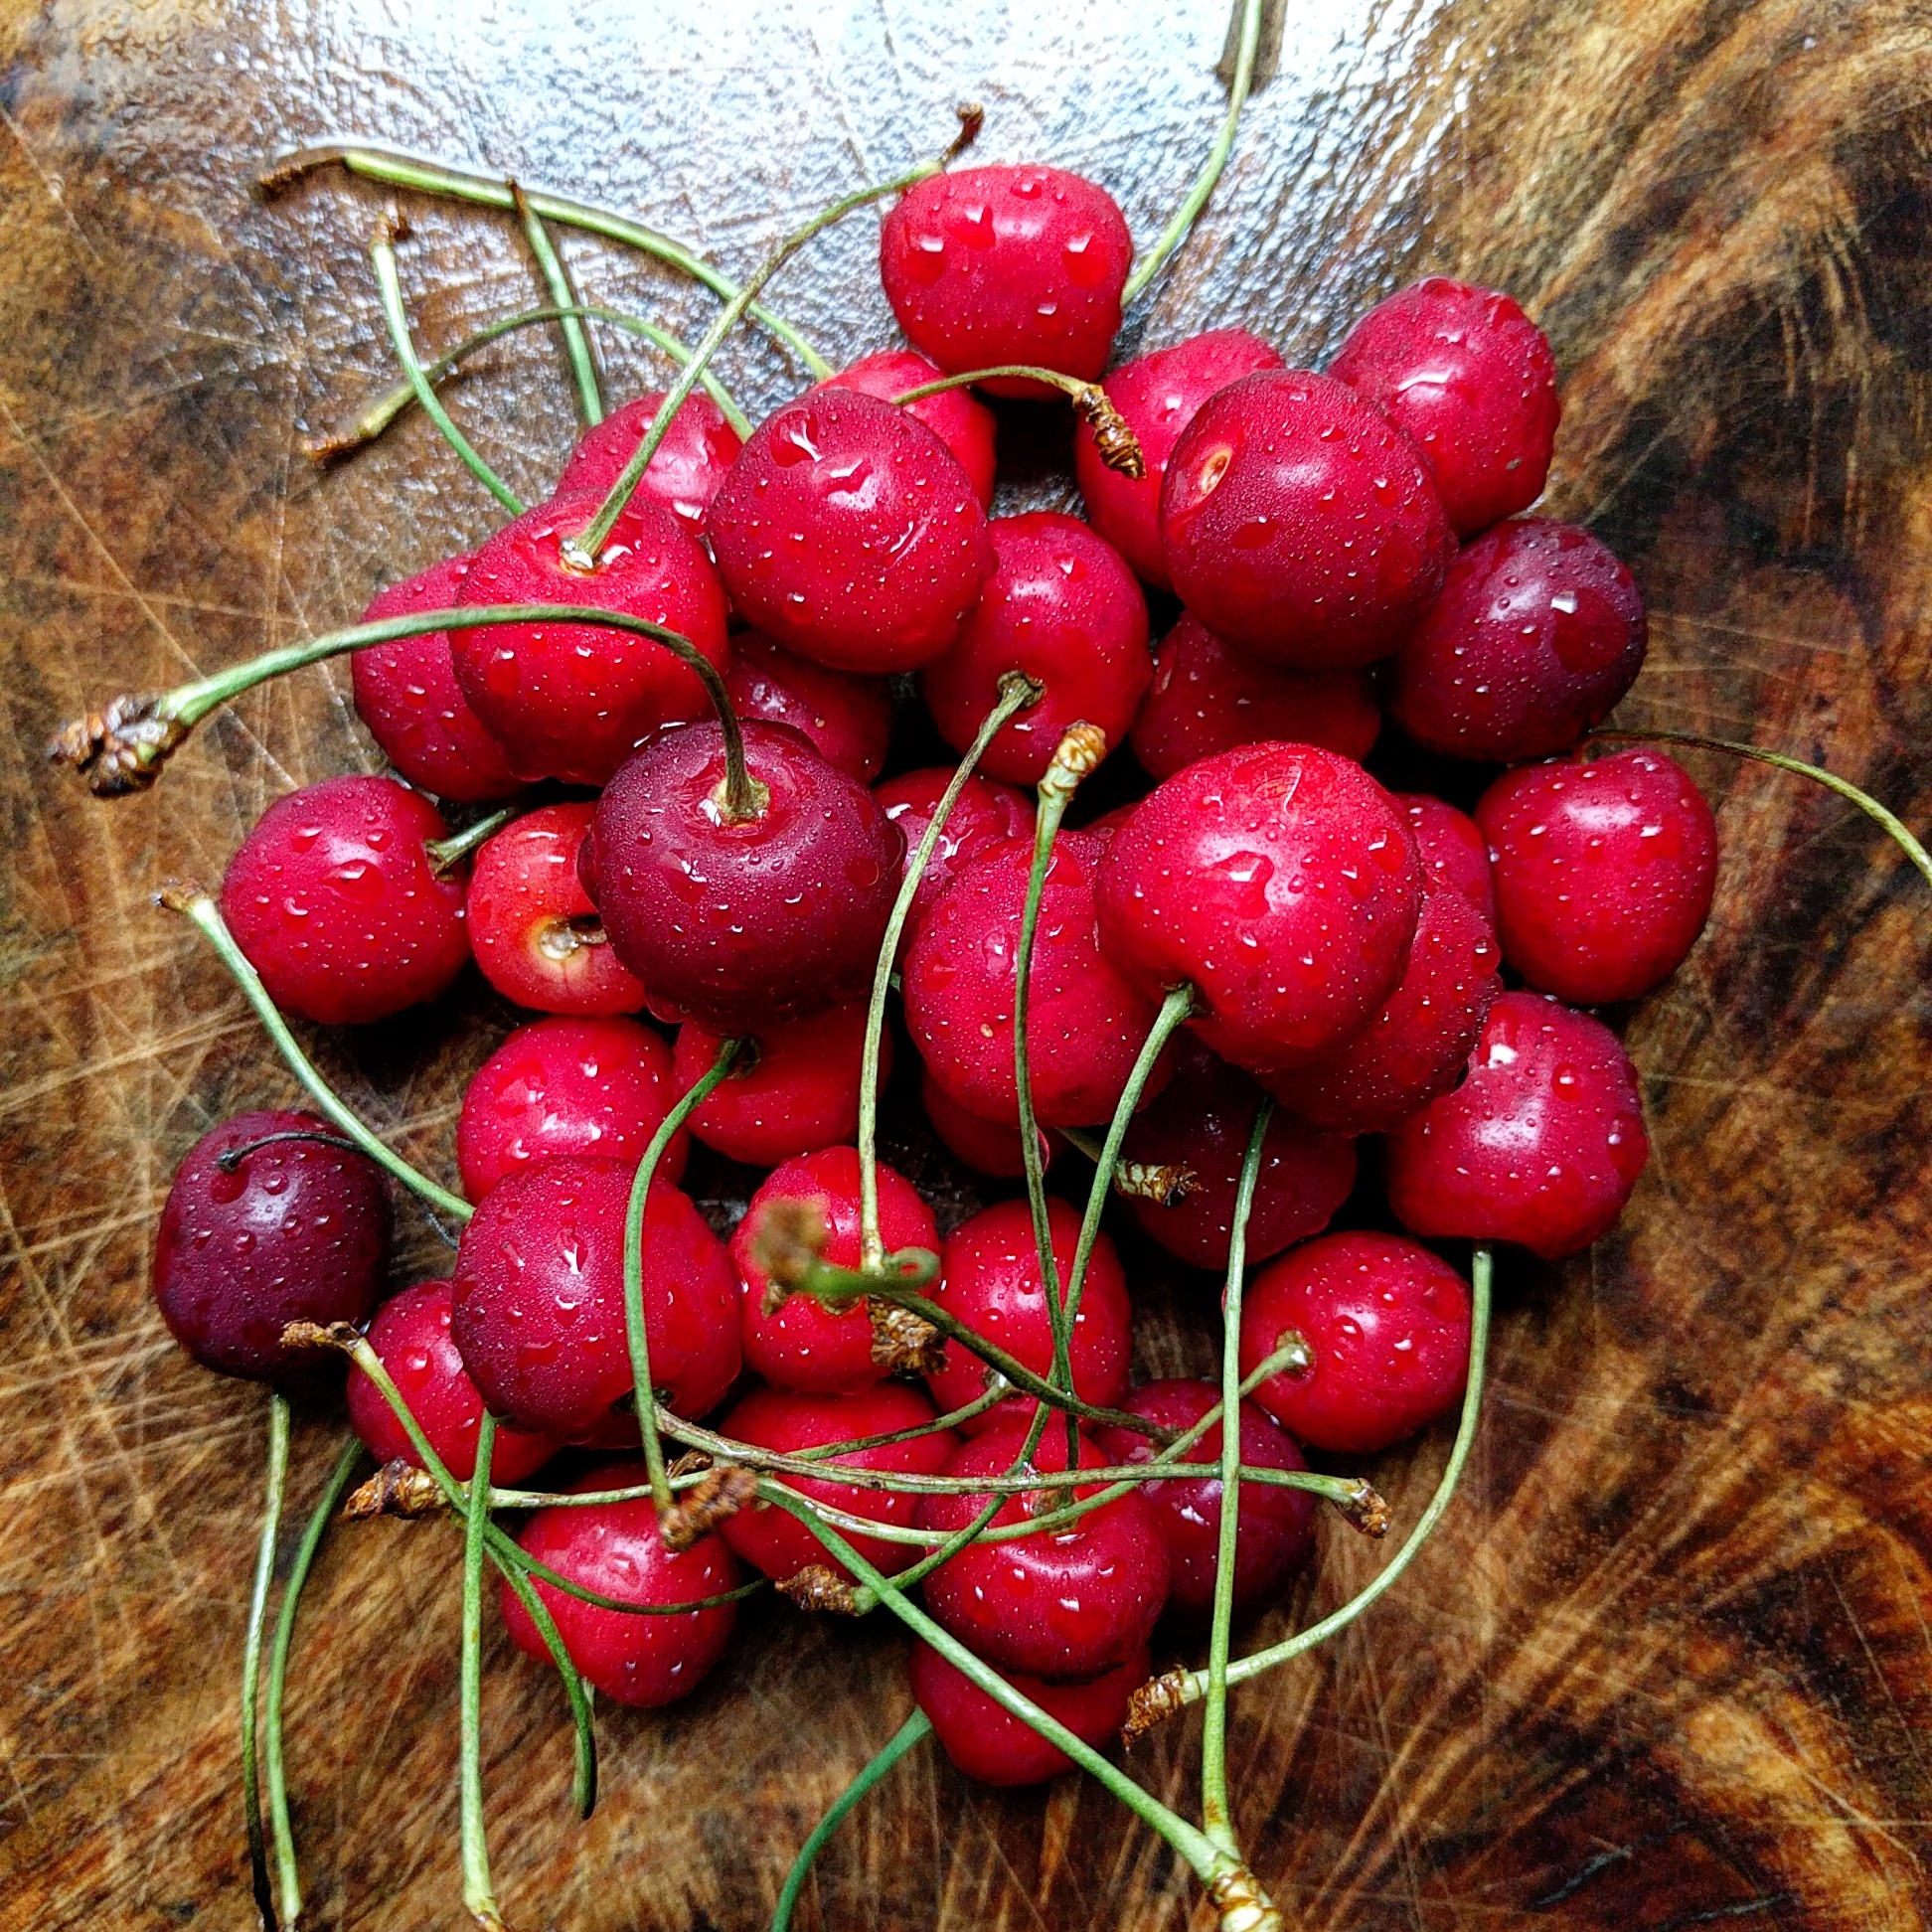
Cherries are in season around this time of the year, and this is actually what inspired me to bake this cake, since I remembered the bright red cherries punctuating the centre of each ring of pineapple from the pictures I’d seen growing up. I decided to work the recipe out myself, using the standard simple sponge recipe I use for most of my cakes that involve fruit. The sugar level is a little lower than usual, to let the sweetness of the fruit play the dominant flavour role, instead of a general tone of sugar-sweet.
The second time I baked this cake, I decided to caramelise the pineapples before I put them into the tin. This ensured that they’d have that golden shade from the beginning of the bake, and would only get more caramelised and golden as the bake progressed. You could play around with this phase a bit, cooking the pineapples a little more, so that they stew and cook even more while the cake bakes, yielding the sort of pineapple layer that would be tender enough to cut through with a butter knife.
You could also use bottled or tinned Maraschino cherries— they would also probably retain their shape a little better than fresh cherries, but I don’t really mind (and in fact, prefer) the softness of the baked fresh cherry, and the way it fuses into the cake.
Once the cake comes out of the oven, make sure you flip it right away, or the caramel layer at the bottom would harden and glue the pineapple to the base of the tin. Let the cake sit like that, without removing the tin for about an hour. This would let all the syrupy bits to drip onto the top of the cake and soak through its body, making it nice and moist.
This is definitely not a difficult cake to put together and bake. It does carry a few extra steps in the preparation of the pineapple, none of which require special skills or techniques (frying the pineapples in butter and sugar might seem like a special technique, but it isn’t too very different from any sort of frying-pan-based frying up you might do). Even though it might look quite unusual, it would make for a good second or third cake to attempt if you’re just starting with baking cakes (a simple chocolate cake would always be the best and most rewarding to bake as a first cake).
The Recipe
Ingredients
85g butter (+about 15g for frying)
188g all purpose flour (+1tbsp for coating the tin)
1½tsp baking powder
A pinch of salt
170g sugar
4tbsp brown sugar
1 egg
125ml milk
1tsp vanilla extract
7 cherries
1 Pineapple
3 pegs (30ml each) rum
Method
- Peel, slice and core the pineapple and slice into roughly 12mm slices.
- Using a circular mould or cutter, trim the pineapple slices into 7cm ∅ circles.
- In a skillet or frying pan, melt 15g butter and add two tablespoons of brown sugar until it melts⁑.
- Quickly fry the pineapples on one side till golden brown, on a medium-high heat. Make sure the caramel doesn’t start to smoke and burn. Set aside to cool.
- Pop the seeds out of the cherries and set aside.
- Copiously butter the bottom of an 8″ baking tin and then drizzle it with the remaining two tablespoons of brown sugar.
- Then butter the sides and gently coat it with all purpose flour, making sure you don’t knock out any of the sugar sticking to the bottom.
- Carefully arrange seven slices of pineapple with the caramelised side down on the brown-sugared base.
- Slip one cherry into the centre of each slice.
- If you’d like, cut the pineapple into triangles and place them in the gaps between the circles. Set aside.
- Powder the sugar fine, and cream it with the butter in a mixing bowl.
- Crack the egg in and mix till it becomes glossy. Add the vanilla extract. At this point, pre-heat the oven to 175°C.
- Add the milk in small quantities and whisk to incorporate evenly. The sugar should be mostly dissolved by now. Pour in the peg of rum and incorporate.
- Sieve flour and baking powder and slowly fold this into the wet mixture.
- Carefully pour this into the baking tin over the pineapples and cherries and spread evenly across the tin with a spatula.
- Bake in the centre of your oven for around 50 minutes to an hour, or until a skewer comes out perfectly clean when you poke it through the centre (start checking around 45 minutes, as some ovens might bake this cake faster; it works best when the cake is a little moist, and this is achieved by pulling it out as soon as you get a clean skewer poke test).
- Poke holes all over the cake using a skewer (I used a thin knitting needle) and pour the final peg of rum all over it. Let this soak for about half an hour.
- Flip the cake over with the tin into the dish you plan to serve the cake in. Let this sit for about half an hour to cool and also let the juices of the pineapple and its brown sugar syrup to soak into the cake.
- Remove the tin, and slice to serve using a very sharp knife. Slice through the pineapple the same way you’d slice meat, and then sink the blade down into the body of the cake when you’re through (make sure you don’t use a blunt knife and break up the pineapples on the top.
⁑ If you’re using pineapples from a tin, which are usually already soaked in syrup, don’t bother to use any sugar in this step, just directly drop the slices in butter and fry till golden on one side.