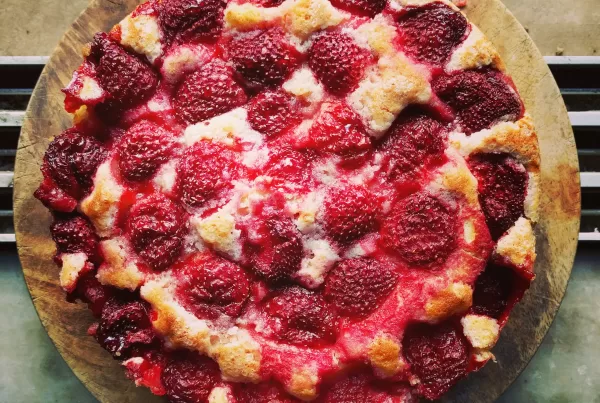
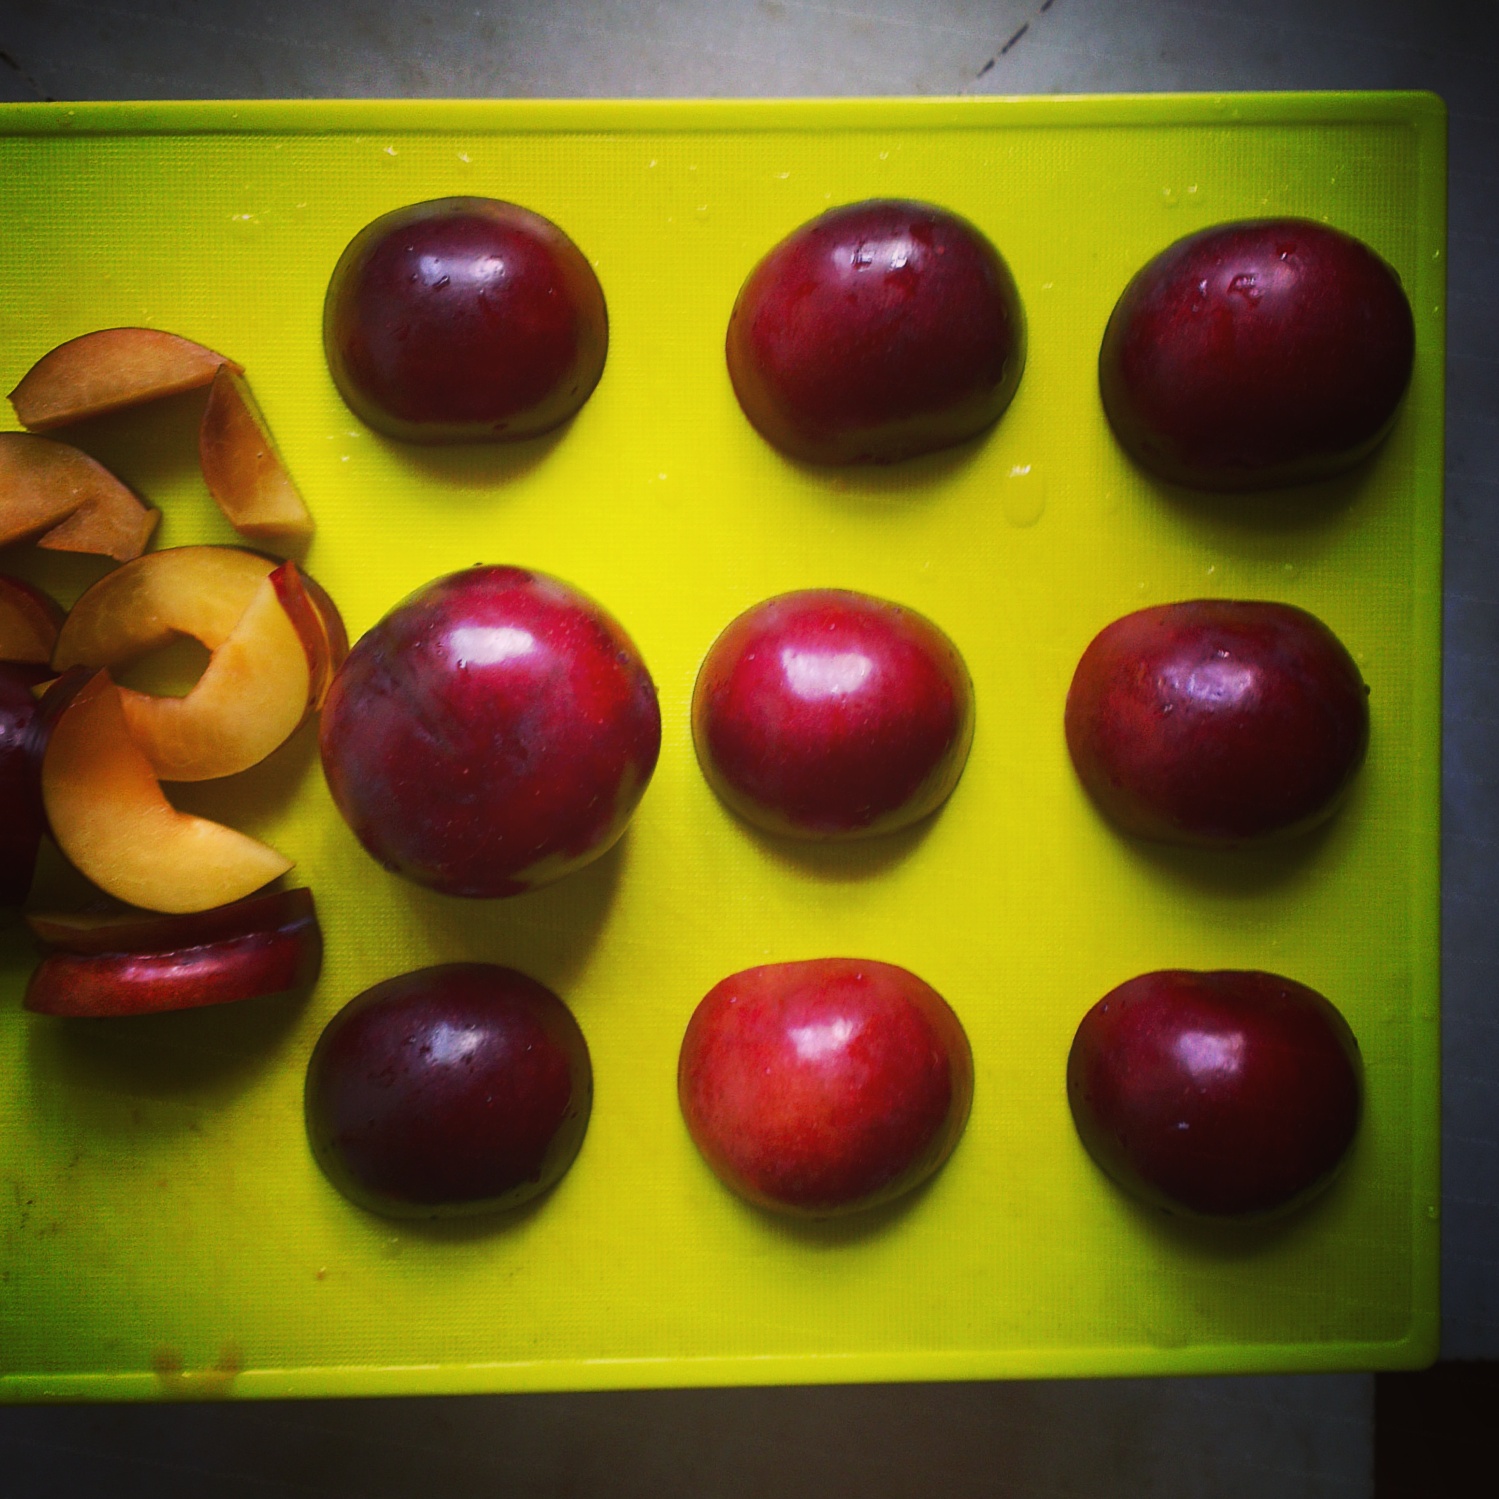
I bought the most average plums of the season the other day. They were lush and dark, and quite firm (most lush and dark plums that are purchase-worthy ought to be a little soft; I should have seen the signs), but were a little too tart to taste.
I can’t remember exactly when the idea of making a plum soufflé came to me, but it happened sometime this season when I thought it’d been a while since I made a soufflé and that stone fruits were in season at the time.
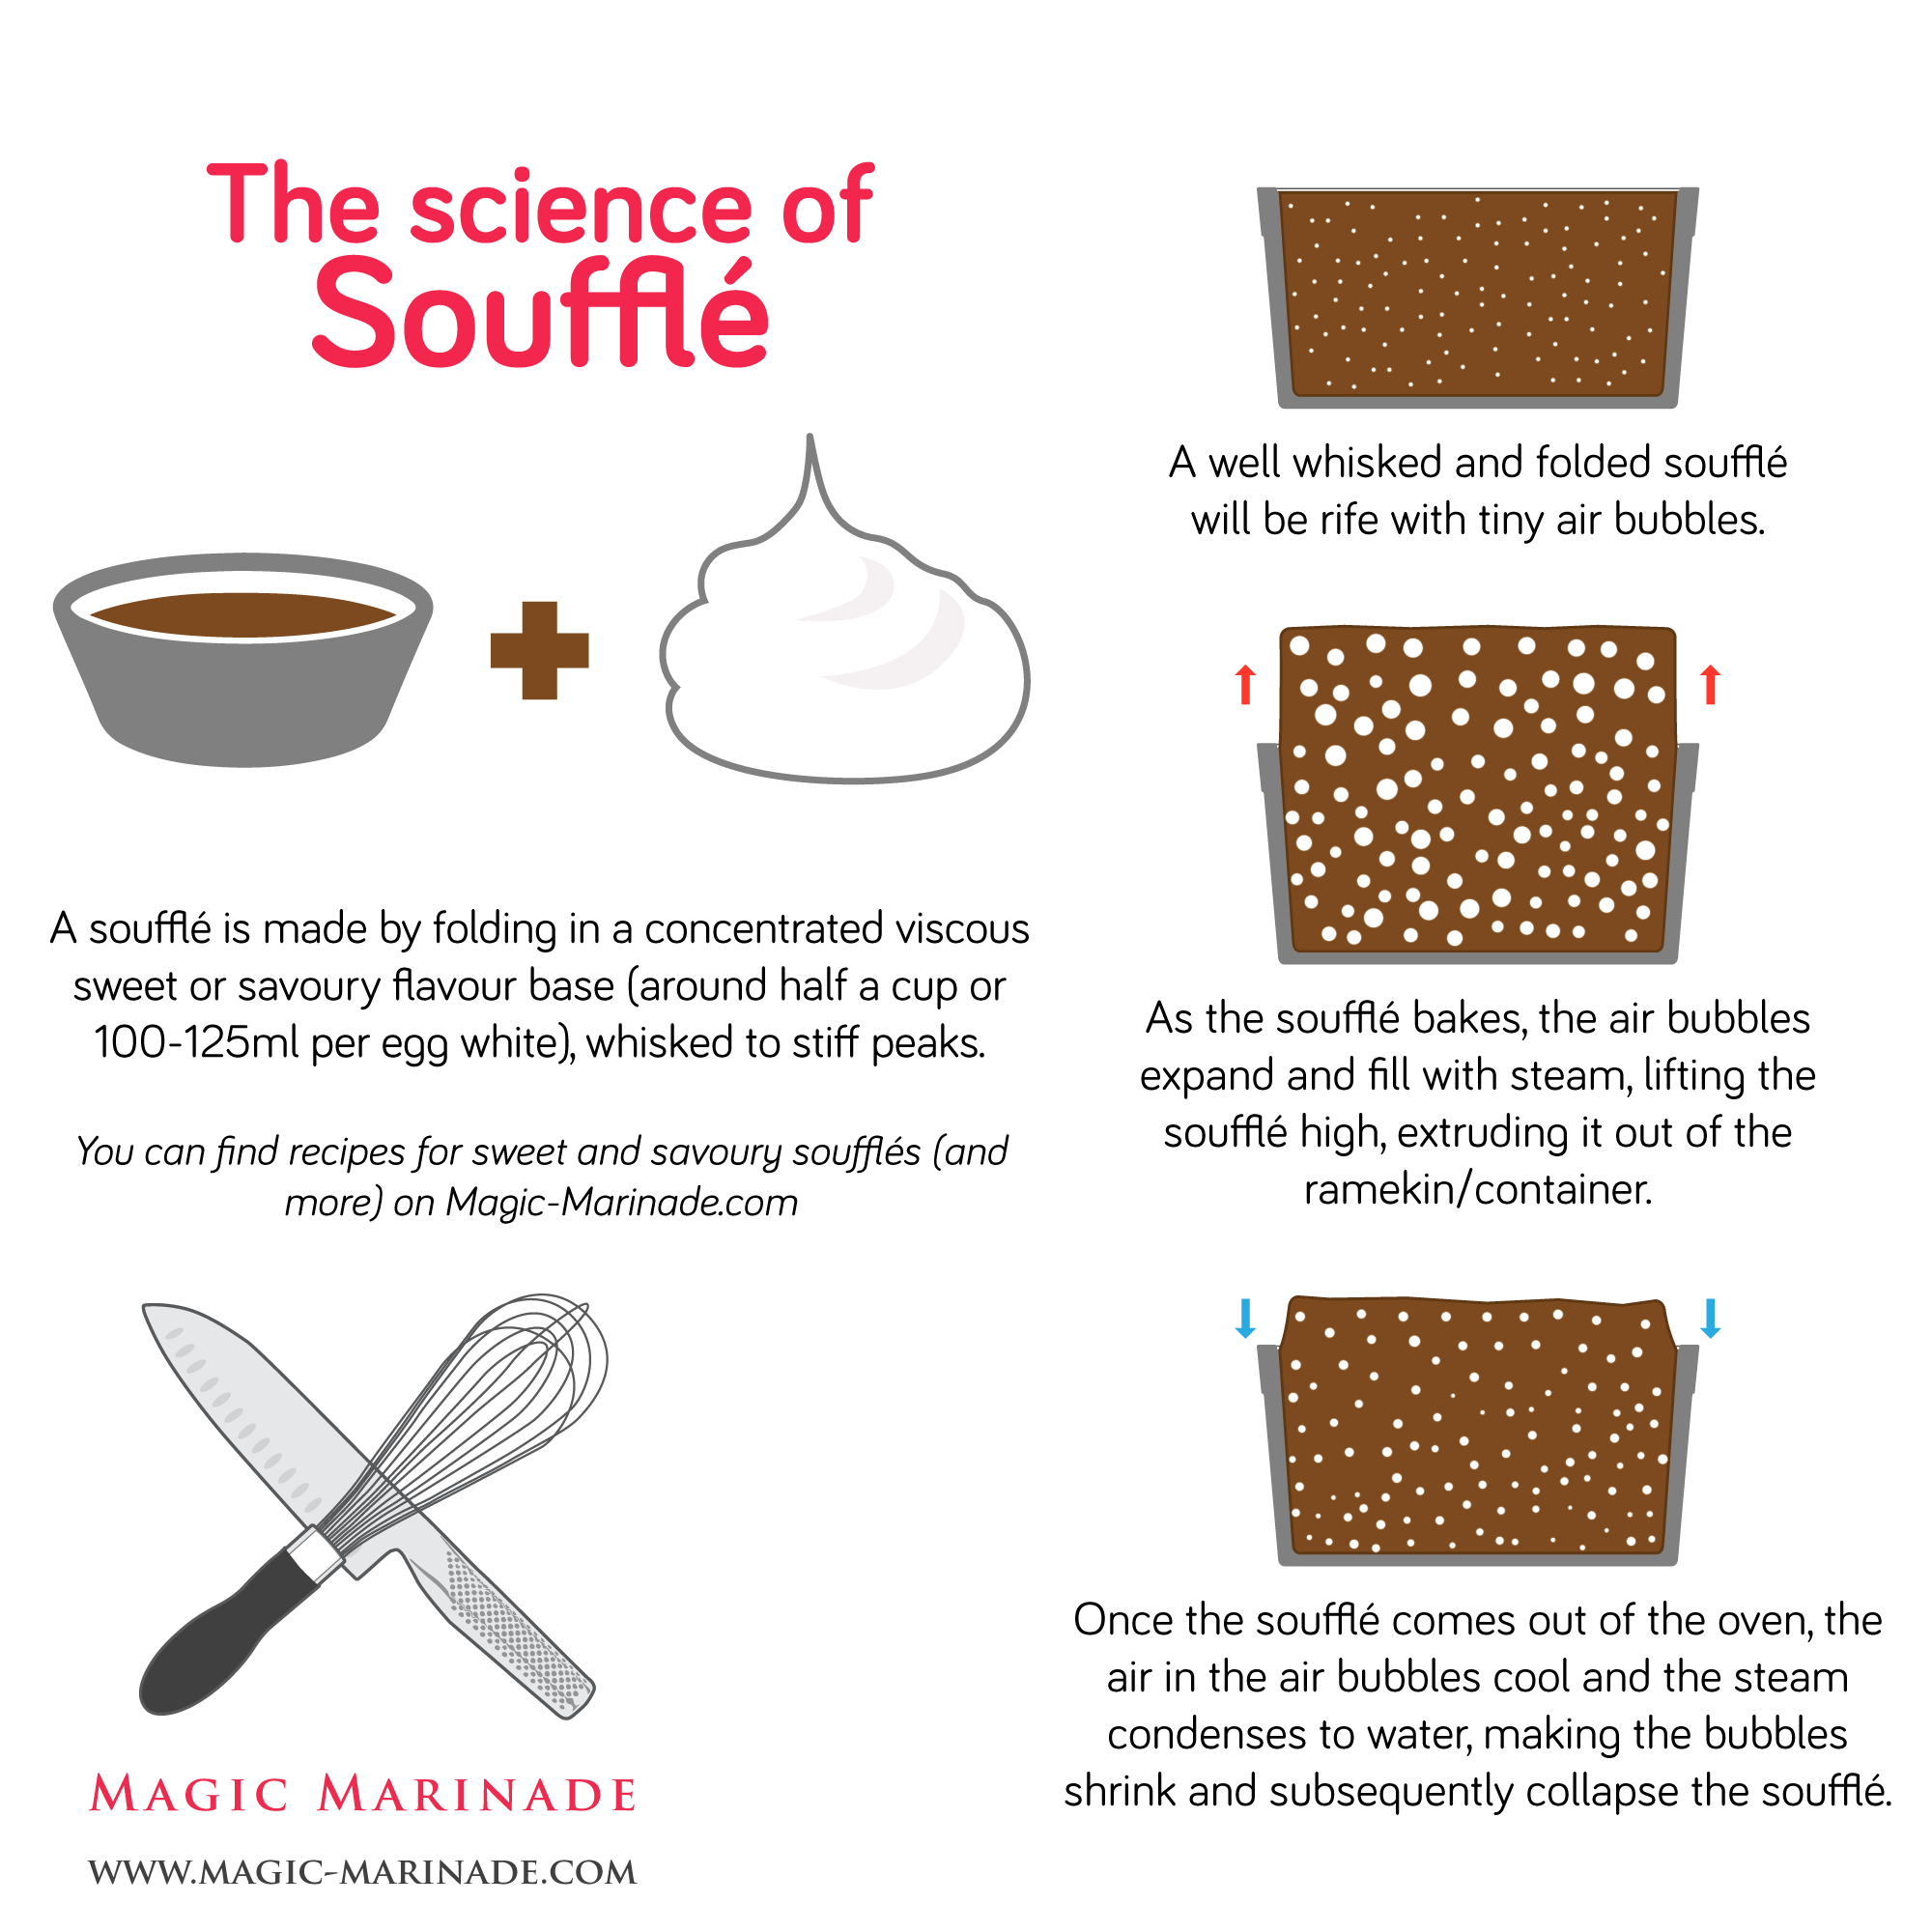
Most recipes for plum soufflés online seem to be post-Christmas recipes, with blended up plum cakes being used as the flavouring element, instead of actual fresh plums. So I decided to wing it and come up with my own recipe. The basic principle of making a soufflé is quite simple (I’ve elaborated on this in my first soufflé post here on Magic Marinade). It really isn’t the scary ‘death-dish’ that it is made out to be. In fact, there are a whole bunch of myths and fallacies that I’ll try to straighten out in this post.
Soufflé Myths
- The soufflé won’t rise if its ramekin/container isn’t buttered. The soufflé will rise as long as heat is applied to it in an oven. The only thing buttering the ramekin achieves is to allow a clean extrusion of the soufflé over the edge of the ramekin/tin/container you’re using.
- Coating the buttered ramekins/containers with powdered sugar helps the soufflé rise. The main reason for dusting a freshly buttered ramekin with sugar is to ensure a caramel-crunchy layer along the edges of the soufflé as it rises out of its container.
- Opening the oven door mid-bake will destroy the soufflé. The process of baking a soufflé is one of slow inflation. Like blowing air into an edible, delicious balloon. Yes, the cool air will make the soufflé collapse, but warming it up would inflate it back to the heights it initially achieved.
- All soufflés collapse and die the moment they’re taken out of the oven. This is mostly true, although you can control the longevity of the rise with the amount of flour you put into the recipe. Doubling, or quadrupling the flour in the recipe will yield a longer-standing rise, though it would affect the consistency of the end product and be closer to cake than soufflé. In fact, if you were to go up to 10-15 times the amount of flour, you’d pretty much end up with a sponge cake.
- A soufflé is a tedious dessert to prepare for a party or event. A soufflé is actually a pretty convenient dessert to prepare in advance, since the mix takes about half an hour to prepare (the recipe in this post takes a little longer because it calls for the preparation of a plum jam first) and can be frozen days in advance and stuck directly into the (pre-heated) oven half an hour before you plan to serve it. Keep a tub of vanilla ice cream handy (if you’re serving a dessert soufflé).
- It takes great skill and training to get a soufflé right. It does not. You can do this easily. If I could get this right on the first attempt, so can you.
Here’s a diagram I made to illustrate the basic working of a soufflé:
 Keeping all this in mind, I figured I’d have to make a plum flavour concentrate first, that would form the concentrated viscous flavour base mentioned above. So I diced the plums as finely as I could, with a freshly sharpened knife instead of blending them up, since I prefer my jams chunky rather than smooth.
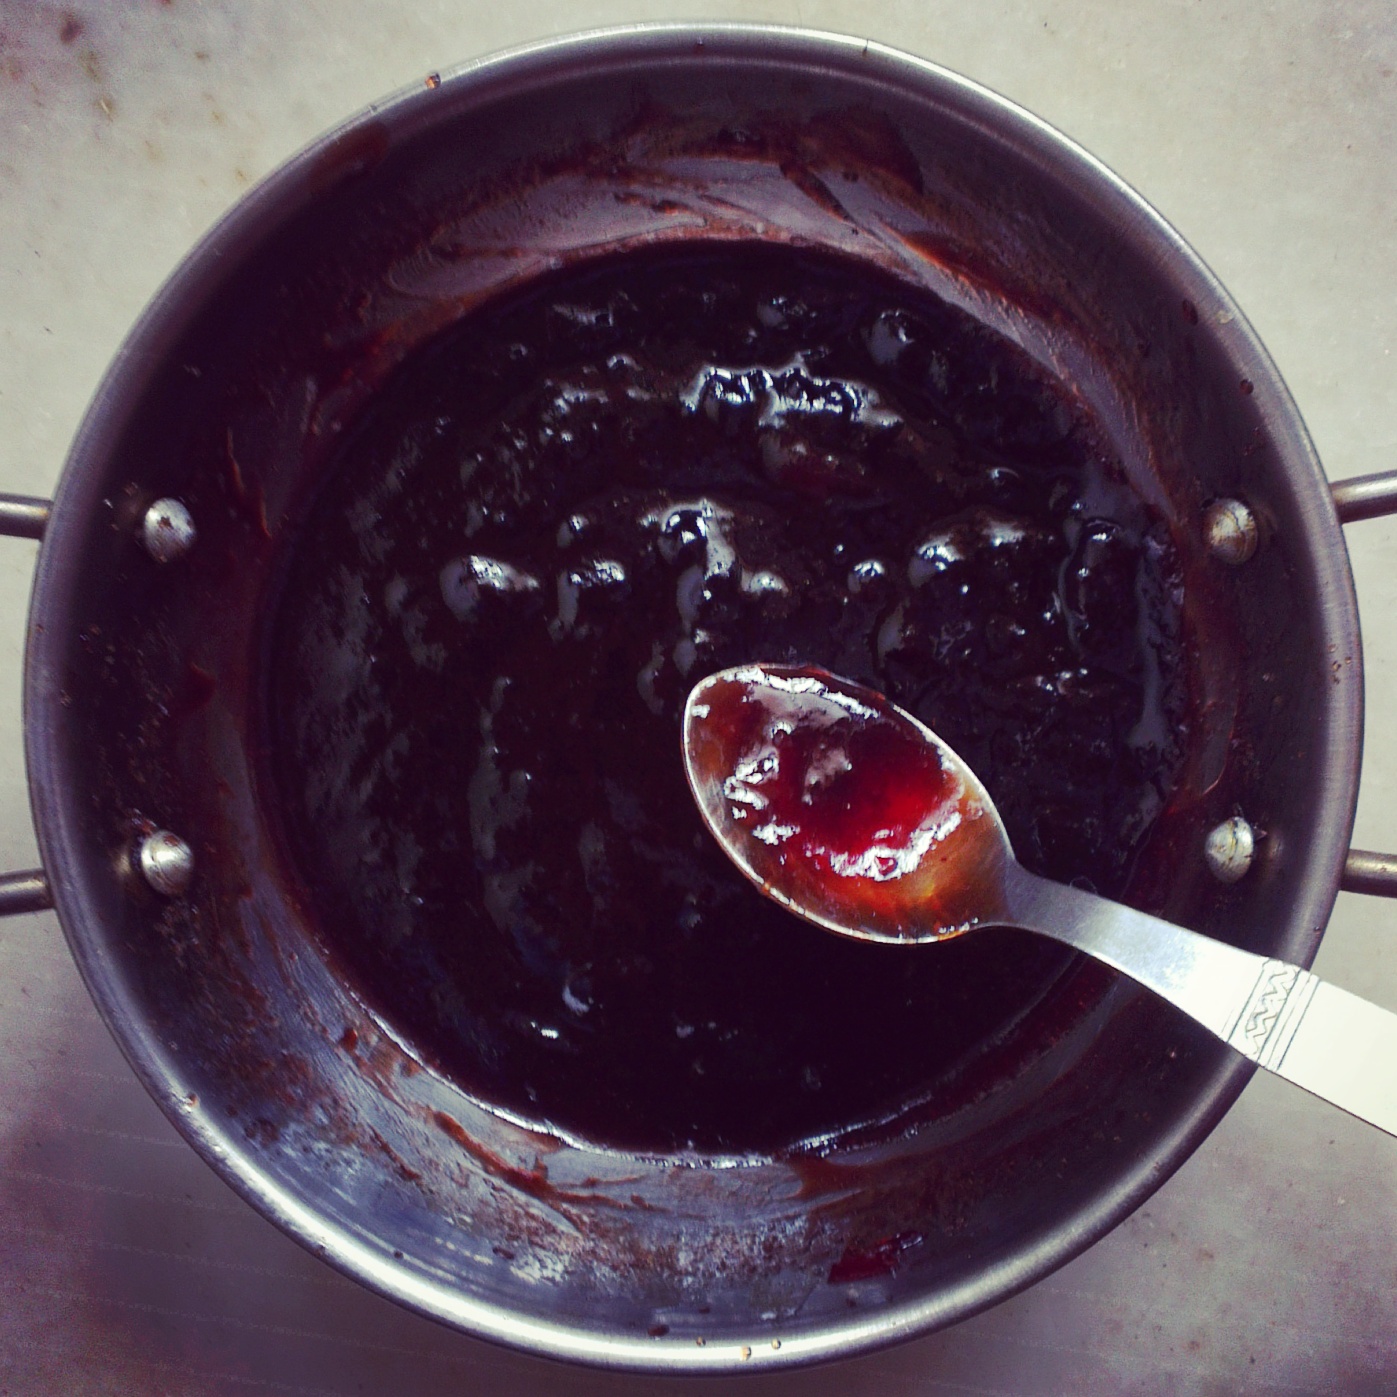
 Then I mixed it up with 150 grammes of brown sugar, thinking I’d need all that sugar to balance the tartness of the dubiously ripened plums I’d bought. I prefer my desserts on the not-so-sweet side, so I toned this down a bit in the final recipe. You’ll only need 100 grammes or so of sugar, especially if you use sweet plums. The jam itself was a serendipitous surprise, as I didn’t expect it to turn out as jammy and delicious as it did, with its fruity firm sweetness. One bonus of throwing in a bunch of sour plums is that the pectin content in tart things like green apples and gooseberries is quite high, which yields a jam that will set, and won’t be very runny.
 The jam turned out so good that I’m planning to make another batch of plum preserve with the last plums of the season to bottle and keep for the next few months.
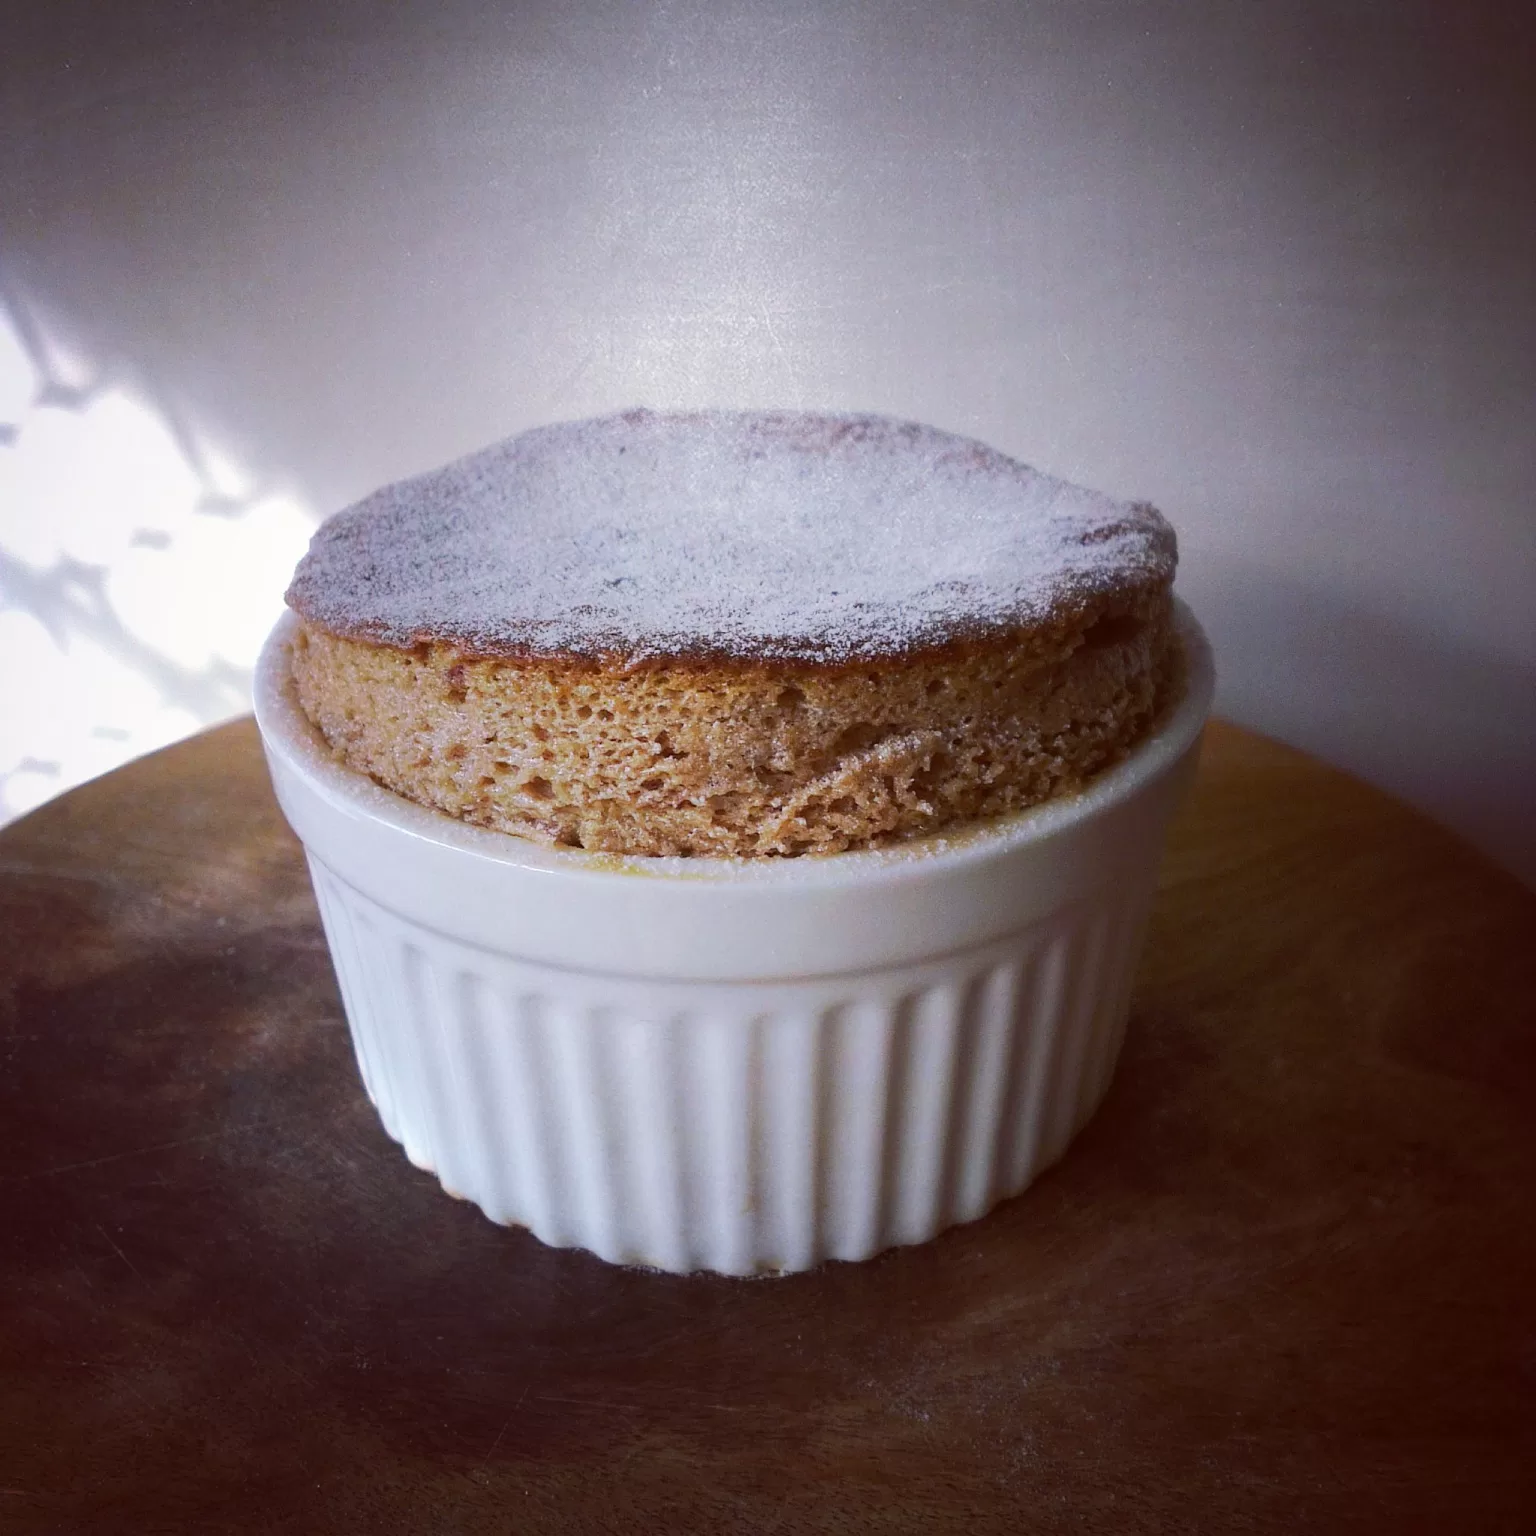
The preparation of this soufflé is quite simple overall, so I won’t elaborate much beyond what is in the recipe below. You don’t need fancy ramekins to pull off a good soufflé. I had a little more than two ramekins worth of soufflé mix so I poured the remainder into a tiny metal katori (which I buttered and sugar-dusted). As you can see below, it rose as well as the ones I set in ramekins.
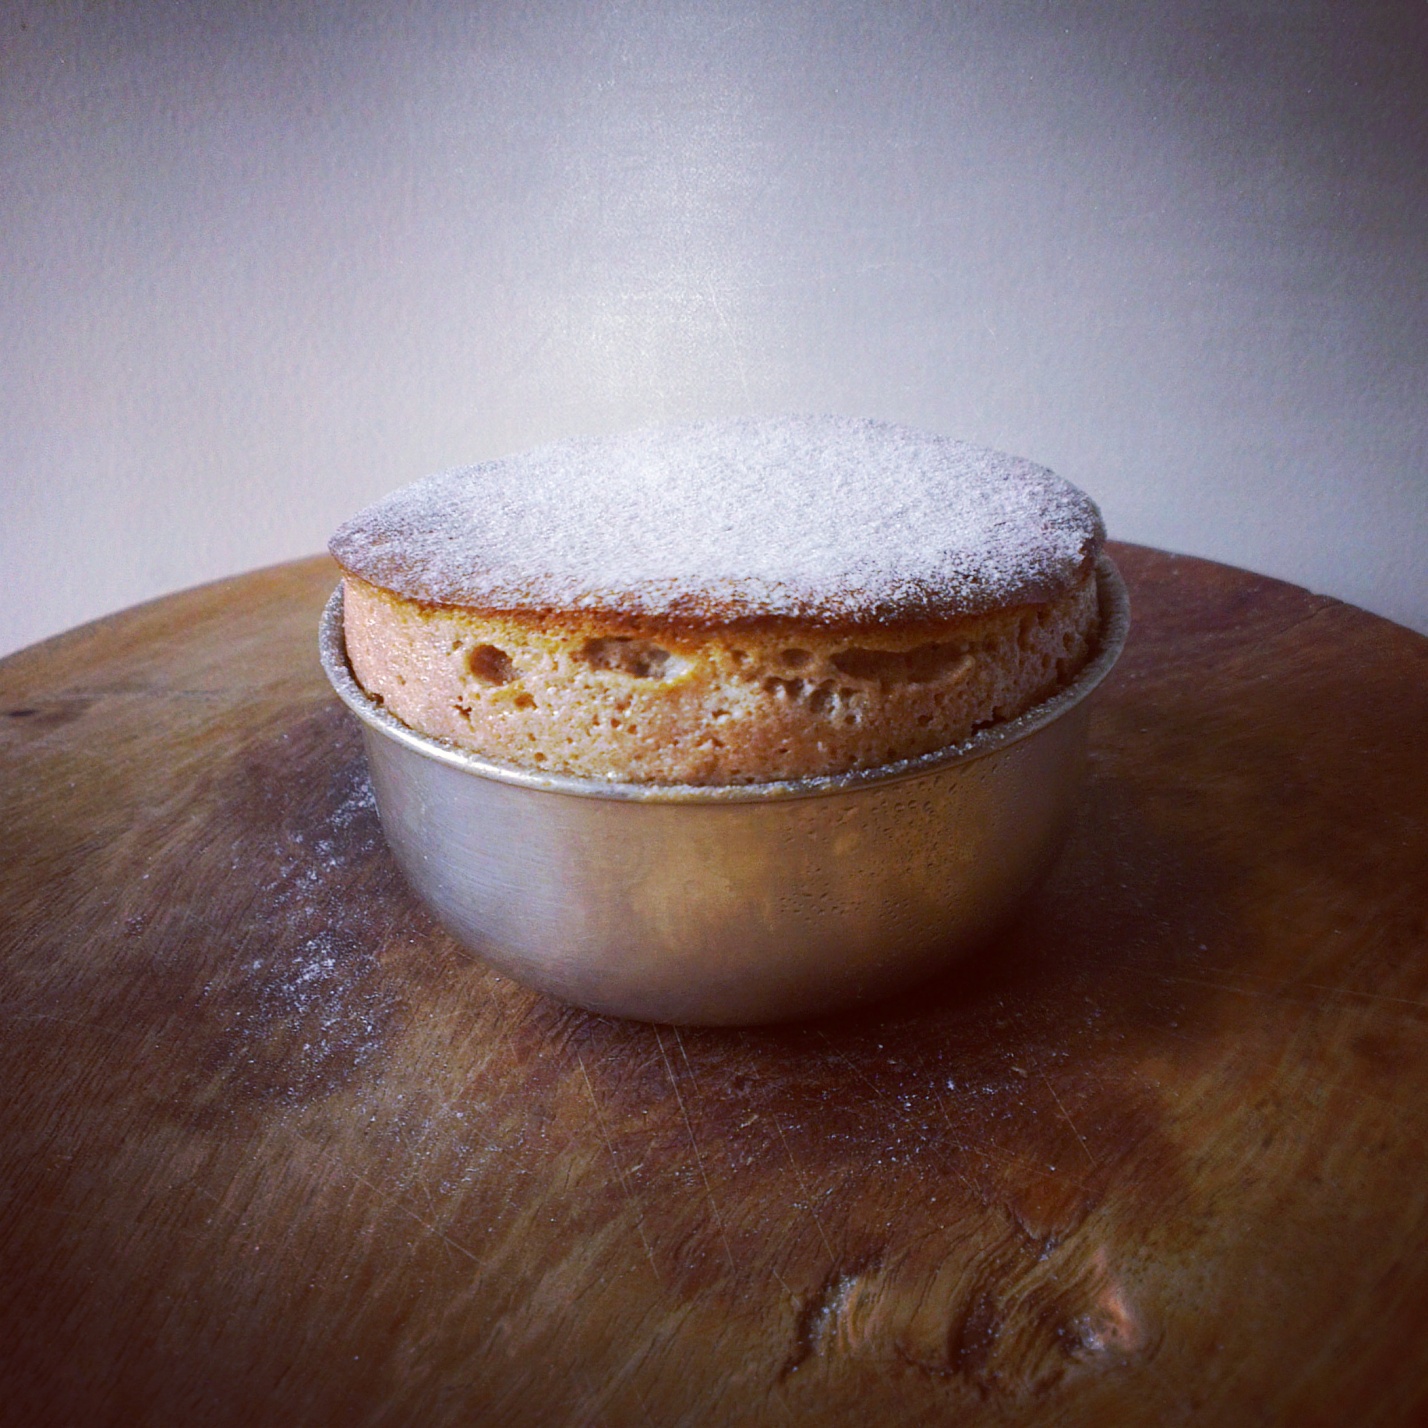 The only thing that varies when you use a metal container is the cook time. This was ready in under ten minutes.
Plum season is on its way out at the moment. The plums you’ll see in fruit shops are probably the last ones of the season, so do go out and but a whole lot of them, there’s a lot you can do with it. Both the soufflé and the jam are quite rewarding to make, and you could make a whole lot more jam and bottle it (make sure you sterilise those jam bottles well before you fill them up) for the months to come.
This recipe is also a pretty good starter soufflé, as there is little that can really go wrong, as long as you make sure your quantities are alright, and you whip the egg whites and sugar up to an even stiff peak consistency. Make the most of the waning plum season and bake this up this weekend.
Recommended reading and references
Much of the theory of the working of soufflés is from the chapter on eggs from Harold McGee’s On Food and Cooking (First Scribner revised edition 2004), which is a fantastic book to read if you’re interested in the nuts and bolts of the science of food.
The Recipe
Ingredients
250g plums (sans stones)
100g brown sugar
1tbsp lemon juice
1tsp vanilla extract
½tsp Allspice
These quantities should yield around 120g of jam, of which we’ll only need 110g for the soufflé. You could easily double or triple this recipe and bottle the remaining jam for everyday use.
10g butter
60ml whole milk
20g flour
2 eggs, separated
6tsp powdered sugar
A pinch of salt
This recipe yields two+ servings in (filled to the brim) 4” ramekins.
Method
- Butter the ramekins/soufflé moulds; brushing the butter in upstrokes along the inner edges ensures that the soufflé extrudes outwards perfectly. Dust the insides with powdered sugar and chill in the freezer.
- To make the jam, mix the plums (diced fine) and brown sugar in a heavy bottomed saucepan and cook till glossy and viscous.
- Add the lemon juice, vanilla and allspice and cook until the jam starts to leave the sides of the pan when you stir. This is quite a clear change in consistency, so you’ll notice it for sure. It’ll be a thick but runny sort of jam while it’s still hot. Cool this down to room temperature.
- Weigh out 110g of the jam and mix in the butter, followed by the two yolks, one by one.
- Sift in the flour and mix carefully to avoid any lumps.
- Add the milk slowly while stirring or whisking to incorporate it evenly. Set this aside.
- Whisk the egg whites with a pinch of salt in a bowl till you achieve soft peaks.
- Add the sugar one teaspoon at a time (for a total of four) and whisk till glossy and stiff. The eggs should stay in the bowl when held upside-down.
- Slowly fold in the plum mixture into the whisked egg whites. Don’t overwork it, the occasional band of white is perfectly fine.
- Transfer the mix into ramekins. Fill them to the brim and flatten the tops out using a spatula. Freeze these while you pre-heat the oven to 200ºC. You can also freeze them overnight.
- Remove the ramekins from the fridge and run the tip of your knife along the edges of the mix to separate it from the edge of the ramekins.
- Bake for 20-25 minutes if you like your soufflé firm, as opposed to 15-20 if you like them gooey.
- Dust the tops with powdered sugar and serve with vanilla ice cream, or by itself, immediately after removing it from the oven.