

Sometimes, I bake when I’m blue. As therapeutic as the exercise is, I think I enjoy baking and cooking as a celebration a lot more. I’ve had a pretty tough bunch of months in the recent past, and I thought I’d commemorate the (hopeful) end of this period (and the arrival of winter) with apple pie.
I’ve made apple pie before, but I remember that attempt being quite gloopy overall. So this time around I decided to cook the apples in caramel first— the idea being that most of the water in the apple would cook out first. The fact that the apples develop this incredible new dimension of flavour when this happens is of course, an added bonus.
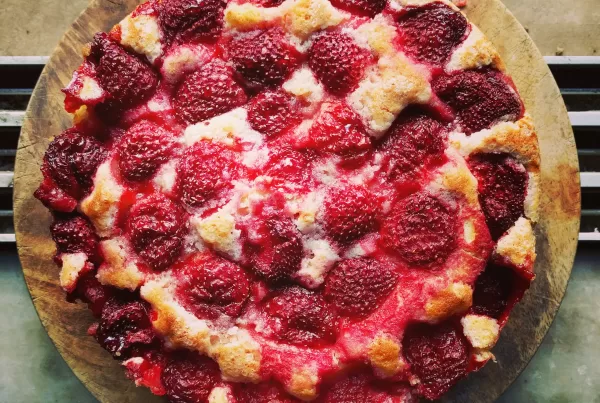
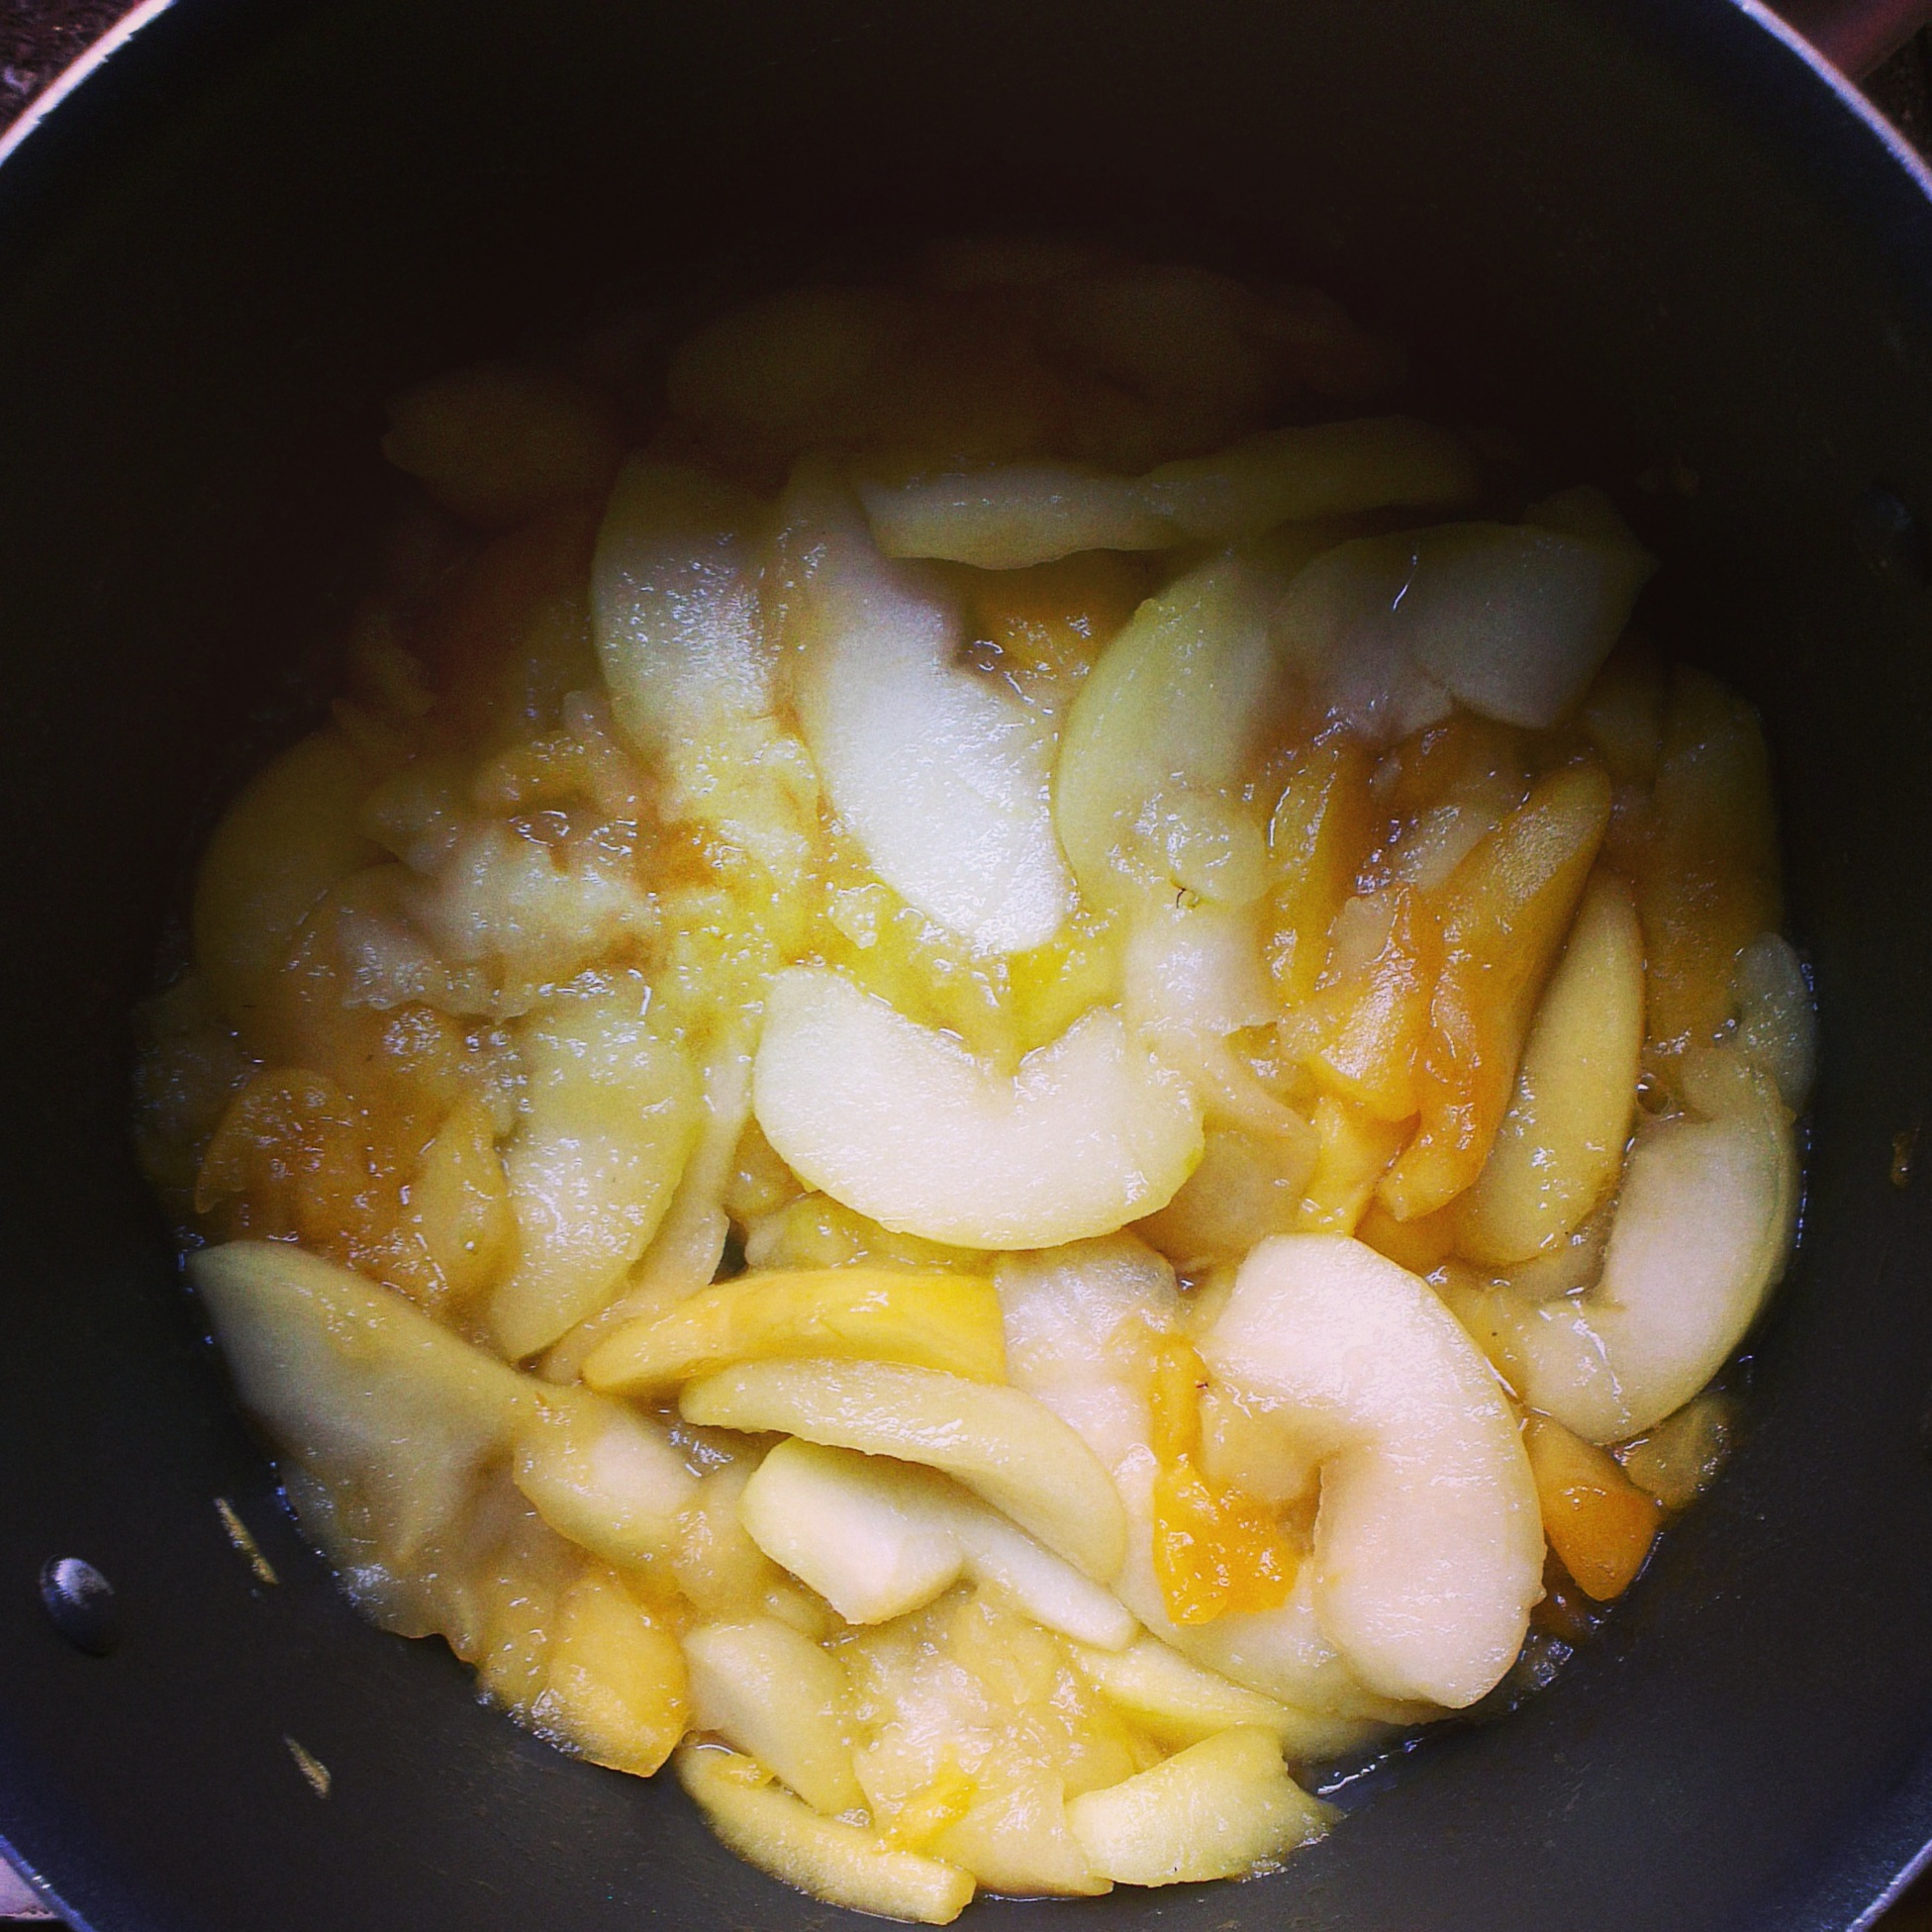 Because the quantity of apples was so large, I had to cook the apples in batches. I think I got it wrong the first time, where I caramelised half the sugar and just dropped the apples onto it. This caused the caramel to seize up in bits, with these lumps of molten caramel stuck to the bottom. The next time, I layered the apples onto the hot caramel the moment it turned a deep golden brown and just let it cook till the water from the apples loosened up the caramel and made it easier to stir. When done right, the apples turn into this brilliant shade of gold that the picture above does absolutely no justice to.
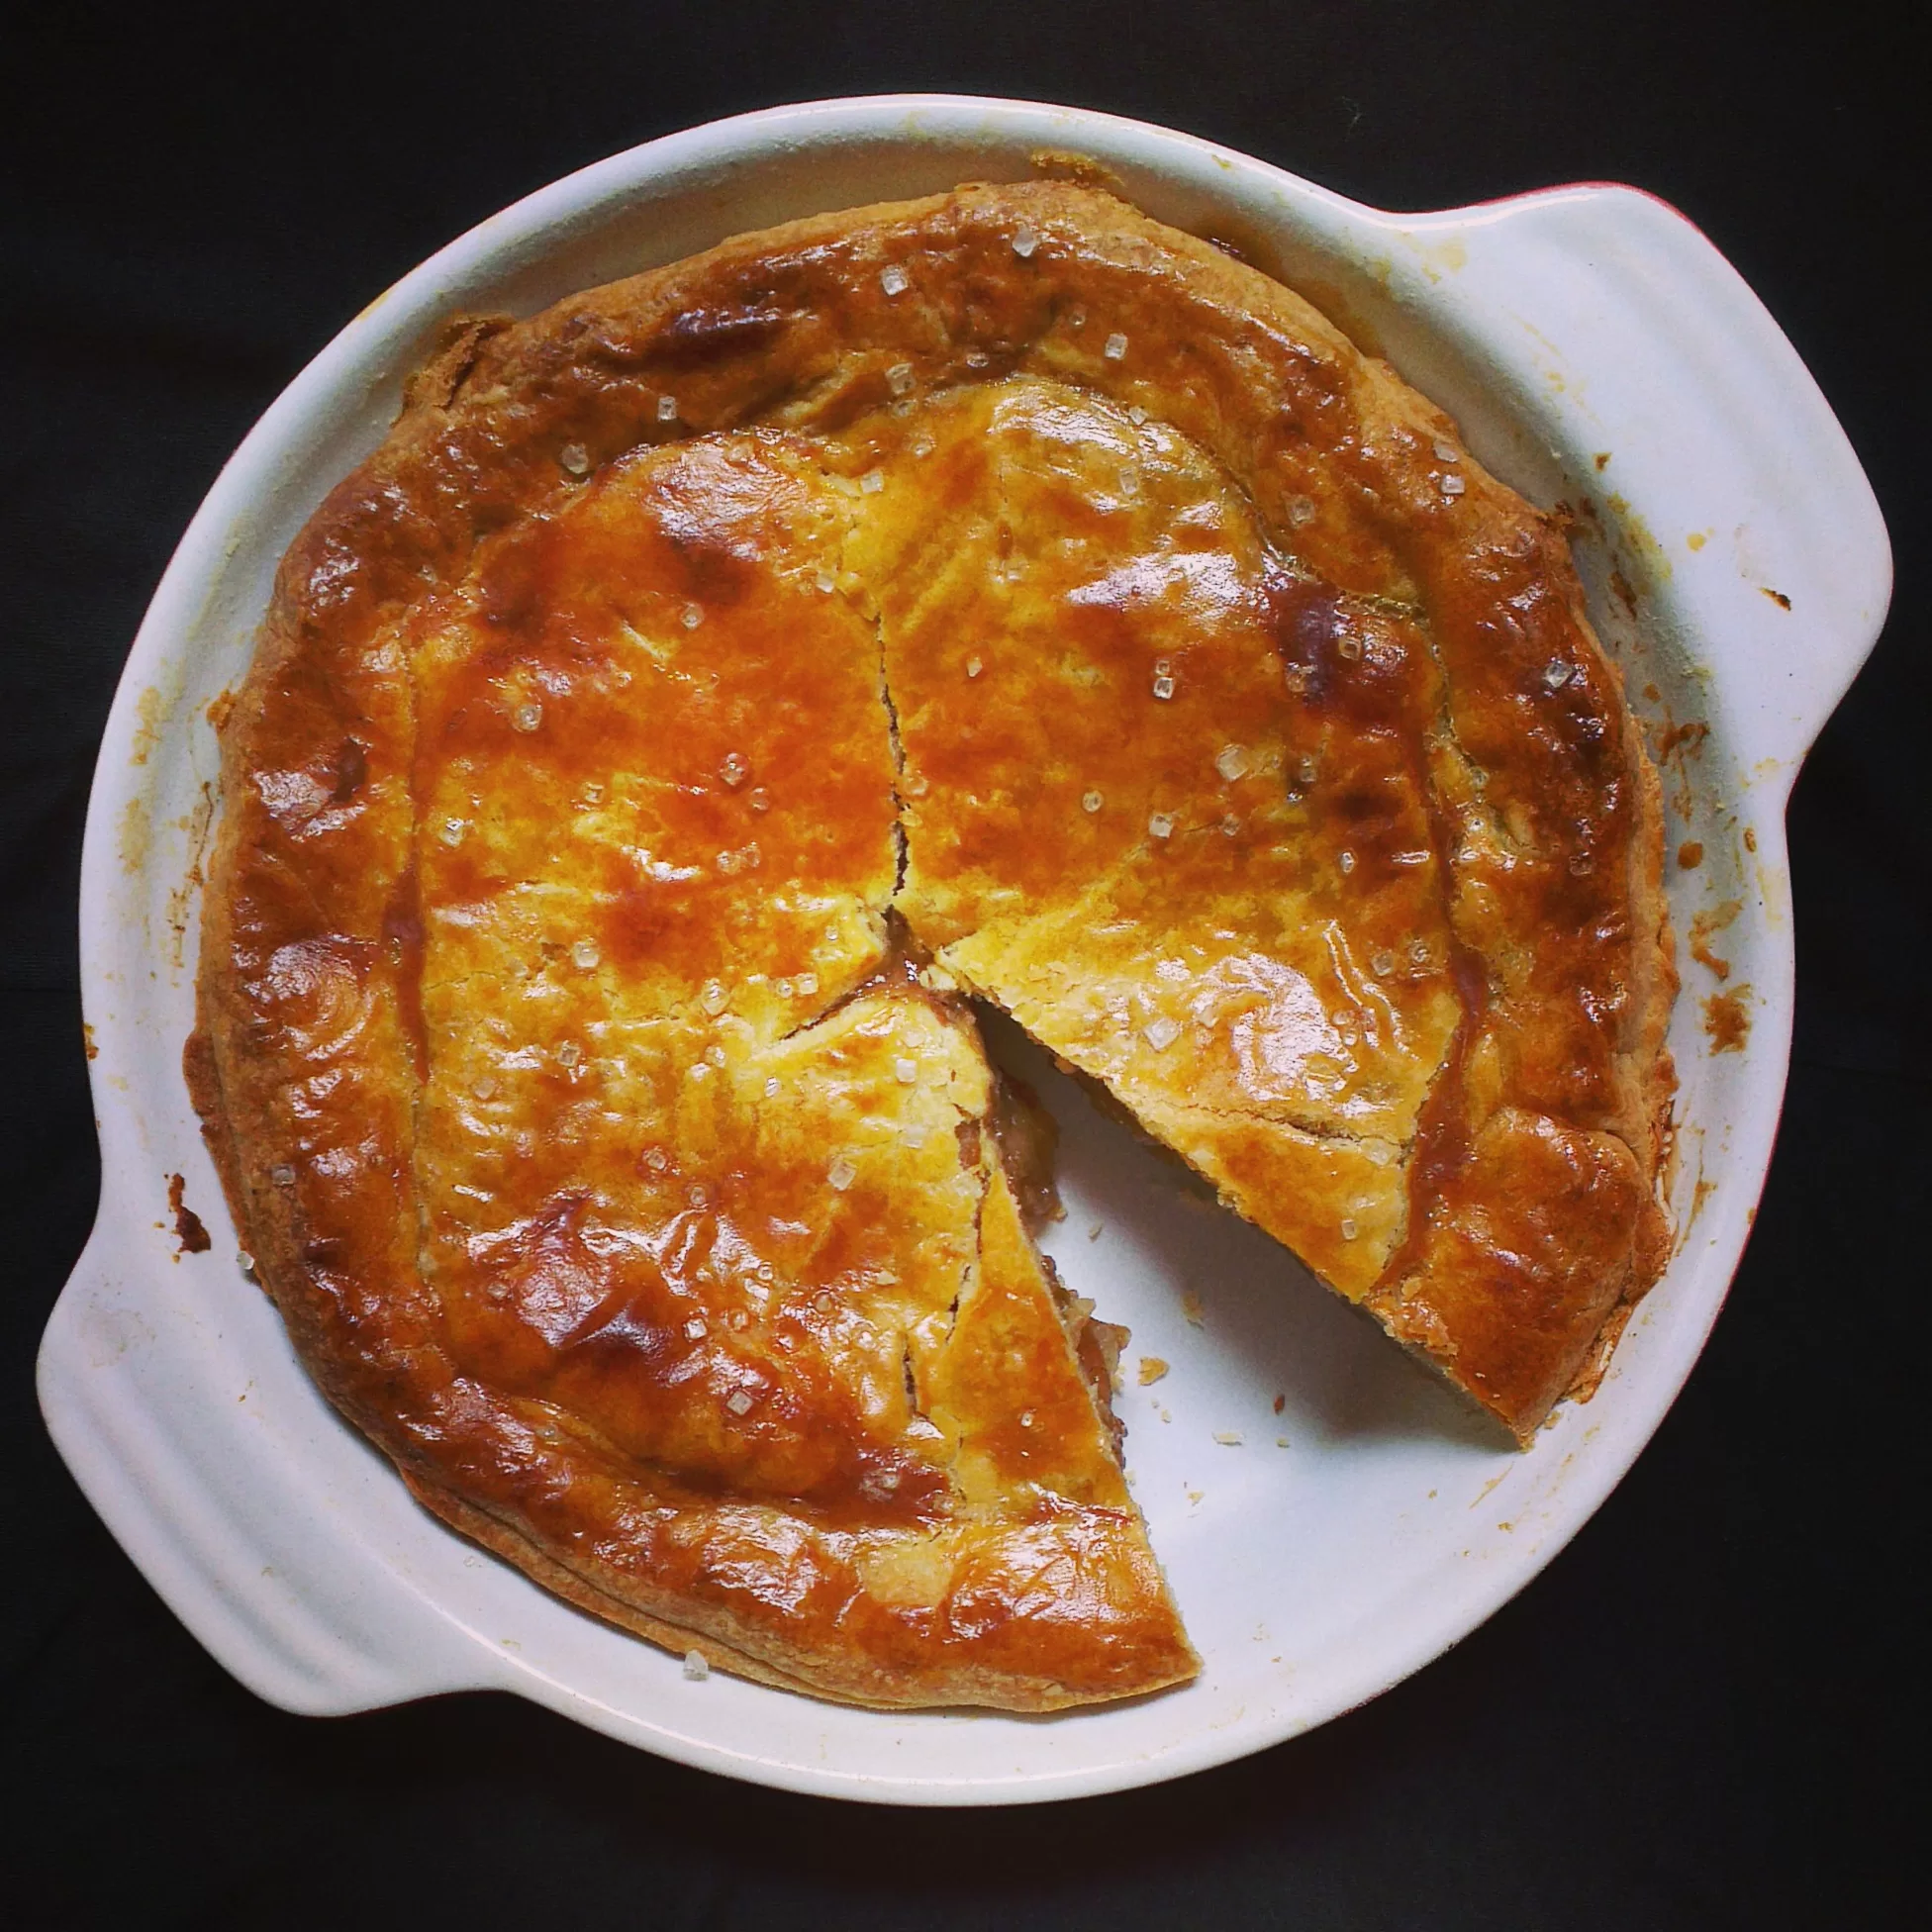
The last time I made this, I latticed the top, the way most restaurant and shop apple pies tend to be. It makes a lot more sense to cover up the apples with a single sheet of pastry, with slits made to vent out steam and any air that might have stayed inside. The pastry cover also allows the apples to cook in their remaining juices a little more, finally turning into this smooth, almost jammy pulp of molten apples.
Apples used to be a seasonal fruit, and I still like cooking with them when they’re in season, but they’re pretty much available everywhere throughout the year. I use four Granny Smith apples and one and a half each of Golden Delicious and red apples for a mix of flavour. The Granny Smiths tend to retain shape and body and don’t cook out to a pulp. They almost give the pie its body and structure in a way. The other two varieties lend a degree of sweetness to the mix, and give it more depth of flavour.
The soul of the pie however, is the spice mix. Apples, once you’ve cooked them in caramel, seem to develop this extra dimension of flavour that almost tastes like a spice. A sensation that is enhanced with the addition of allspice and cinnamon.
In terms of methods and techniques, this is a fairly easy pie. The only things to watch out for is the consistency of the pastry dough, which shouldn’t get overworked and hard and cooking the apples in caramel, which should be overcooked and gloopy. The recipe is quite forgiving overall..you’re not going to make things sink and collapse if you open the oven door, the long (an hour and a half) bake makes sure that the pastry crust cooks nicely, even at the bottom. I think baking this in a ceramic pie dish also helped.
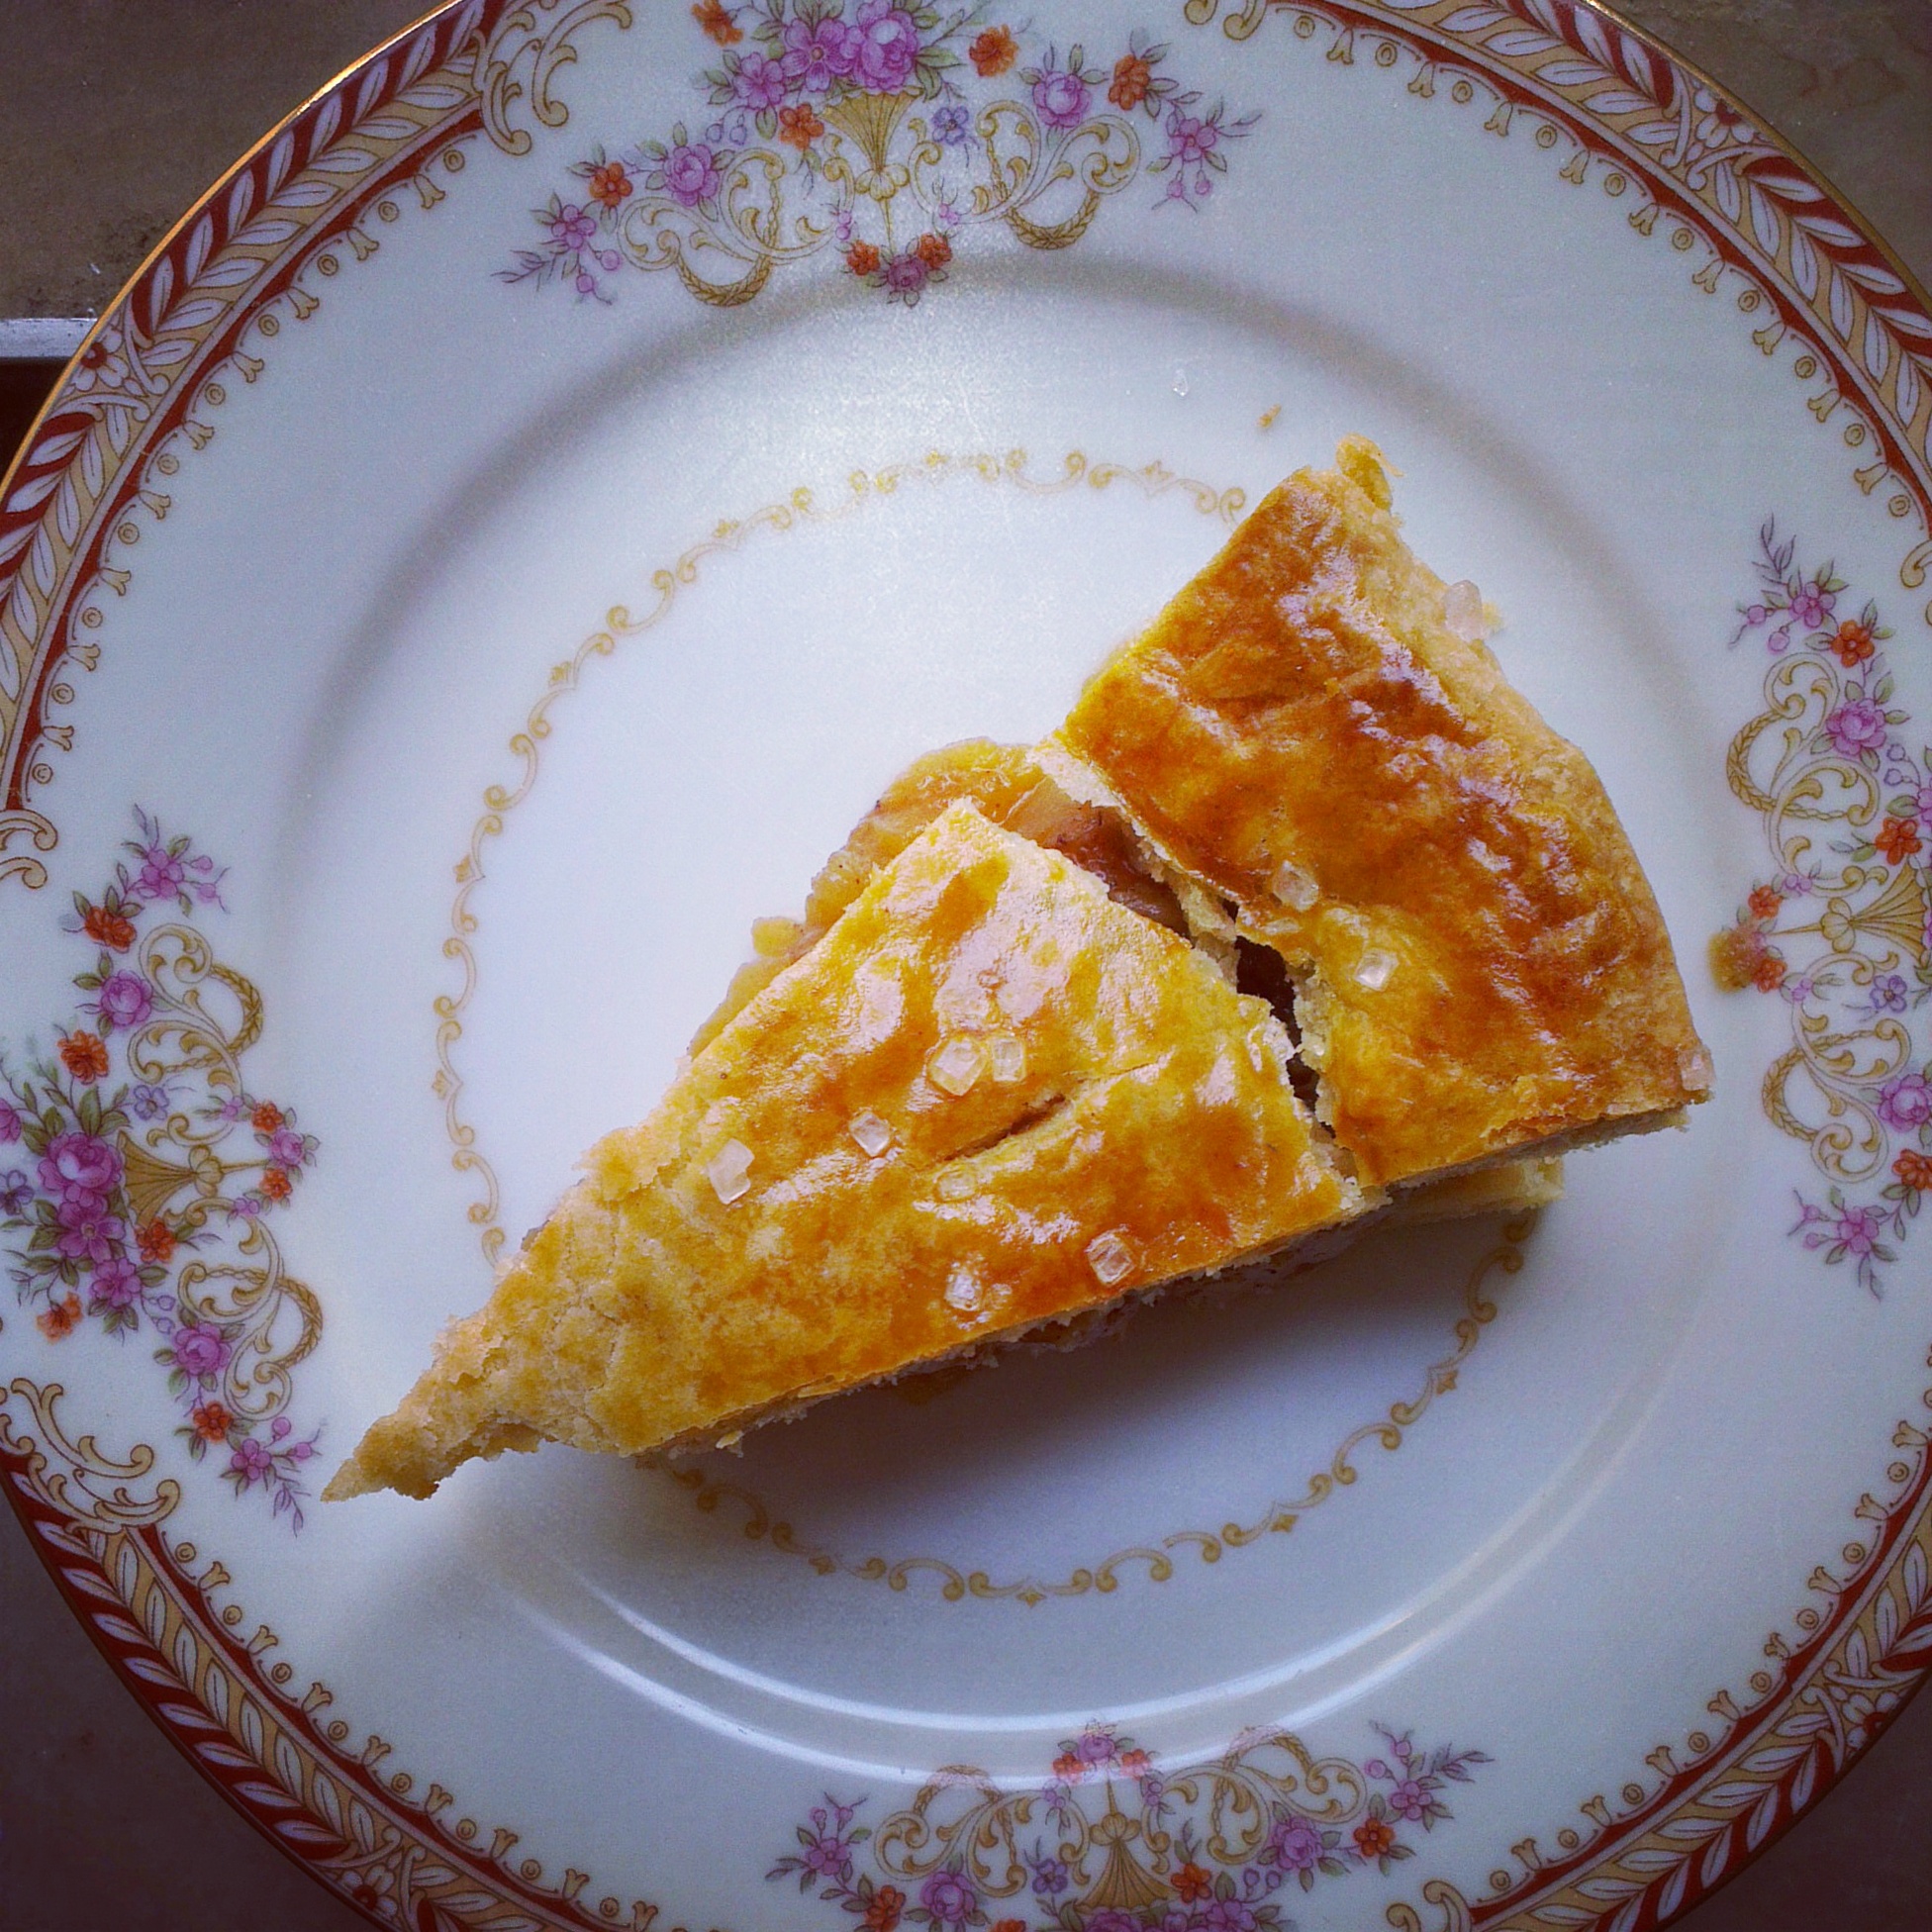
This is a recipe you can totally take your time putting together. It’s perfect for a weekend morning, where you prep the ingredients and cook the apples and bake it around lunch, and it’ll cool down just in time for tea— and a great week ahead.
The Recipe
Ingredients
For the crust
105g Atta (whole wheat flour)
105g Maida (all purpose flour)
80g powdered sugar
150g butter
A pinch of salt
90ml ice cold water
For the filling
4 Granny Smith apples
2 Golden Delicious
2 Red apples
Juice and zest of 1 large lemon
130g sugar
2 tbsp maida
¾ tsp cinnamon
¼ tsp nutmeg
¼ tsp allspice
¼ tsp salt
3 tbsp rum
1tsp vanilla extract
1 egg (optional extra)
Method
- Cut the butter into tiny cubes and freeze for about two hours or more.
- Mix the flours, sugar and salt in a large bowl.
- Add the butter to this in three parts and cut the butter into it using a pastry blender, food processor or by rubbing it into the flour with fingers (if you don’t have hot hands) till it reaches a coarse meal consistency
- Pour the ice cold water into this to bring the mixture together. Divide into two equal parts, wrap them in clingwrap and flatten into discs. Let this rest in the fridge for at least an hour.
- Meanwhile core and peel all the apples and slice each one into sixteen equal parts (first quarter them, halve each quarter and then halve each eighth).
- Dress the apples in lemon juice and set aside.
- In a wide pan, caramelise half or a third of the sugar (half if your pans are large, thirds or quarters if they are small) till the caramel is a dark golden brown.
- Lay half or a third of the sliced apples on the caramel carefully, layering them up and cooking till they start to release their juices.
- Cook until the juices evaporate. Repeat with the remaining sugar and apples till all the apples are evenly cooked in caramel. The apples should retain their shape and not cook to a pulp.
- Once the apples have cooled, add the cinnamon, lemon zest, nutmeg, salt, rum and vanilla. Stir evenly; I used my hands to be gentle on the apples.
- Add the flour and mix till incorporated.
- Pre-heat the oven to 180ºC.
- Roll out one of the discs of pastry dough into a large disc and drape it inside an 8″ pie dish. Also roll out the other one and keep it ready.
- Pour the cooled filling into this and smooth it out till it’s in a more or less even pile.
- Brush the edges of the pastry dough with egg wash or water and then drape the remaining rolled out pastry dough over this, carefully.
- Seal the edges and roll any excess pastry crust inwards. Crimp the edges using a spoon or your fingers.
- Whisk the egg lightly and brush the top of the pie with it. Let this dry in the freezer for ten minutes and then give it another coat. Drizzle some sugar on the top of the pie and make little cuts in the middle to make vents.
- Slip this into the oven and bake for 30 minutes.
- After 30 minutes, take the pie out, cover the edges and top with foil and bake for another half hour.
- Remove the foil in the last ten/fifteen minutes so that the top can cook a little more and turn golden brown.
- Cool for a few hours (this really does take some time to cool down) before serving, warmed or at room temperature, depending on how you prefer it.
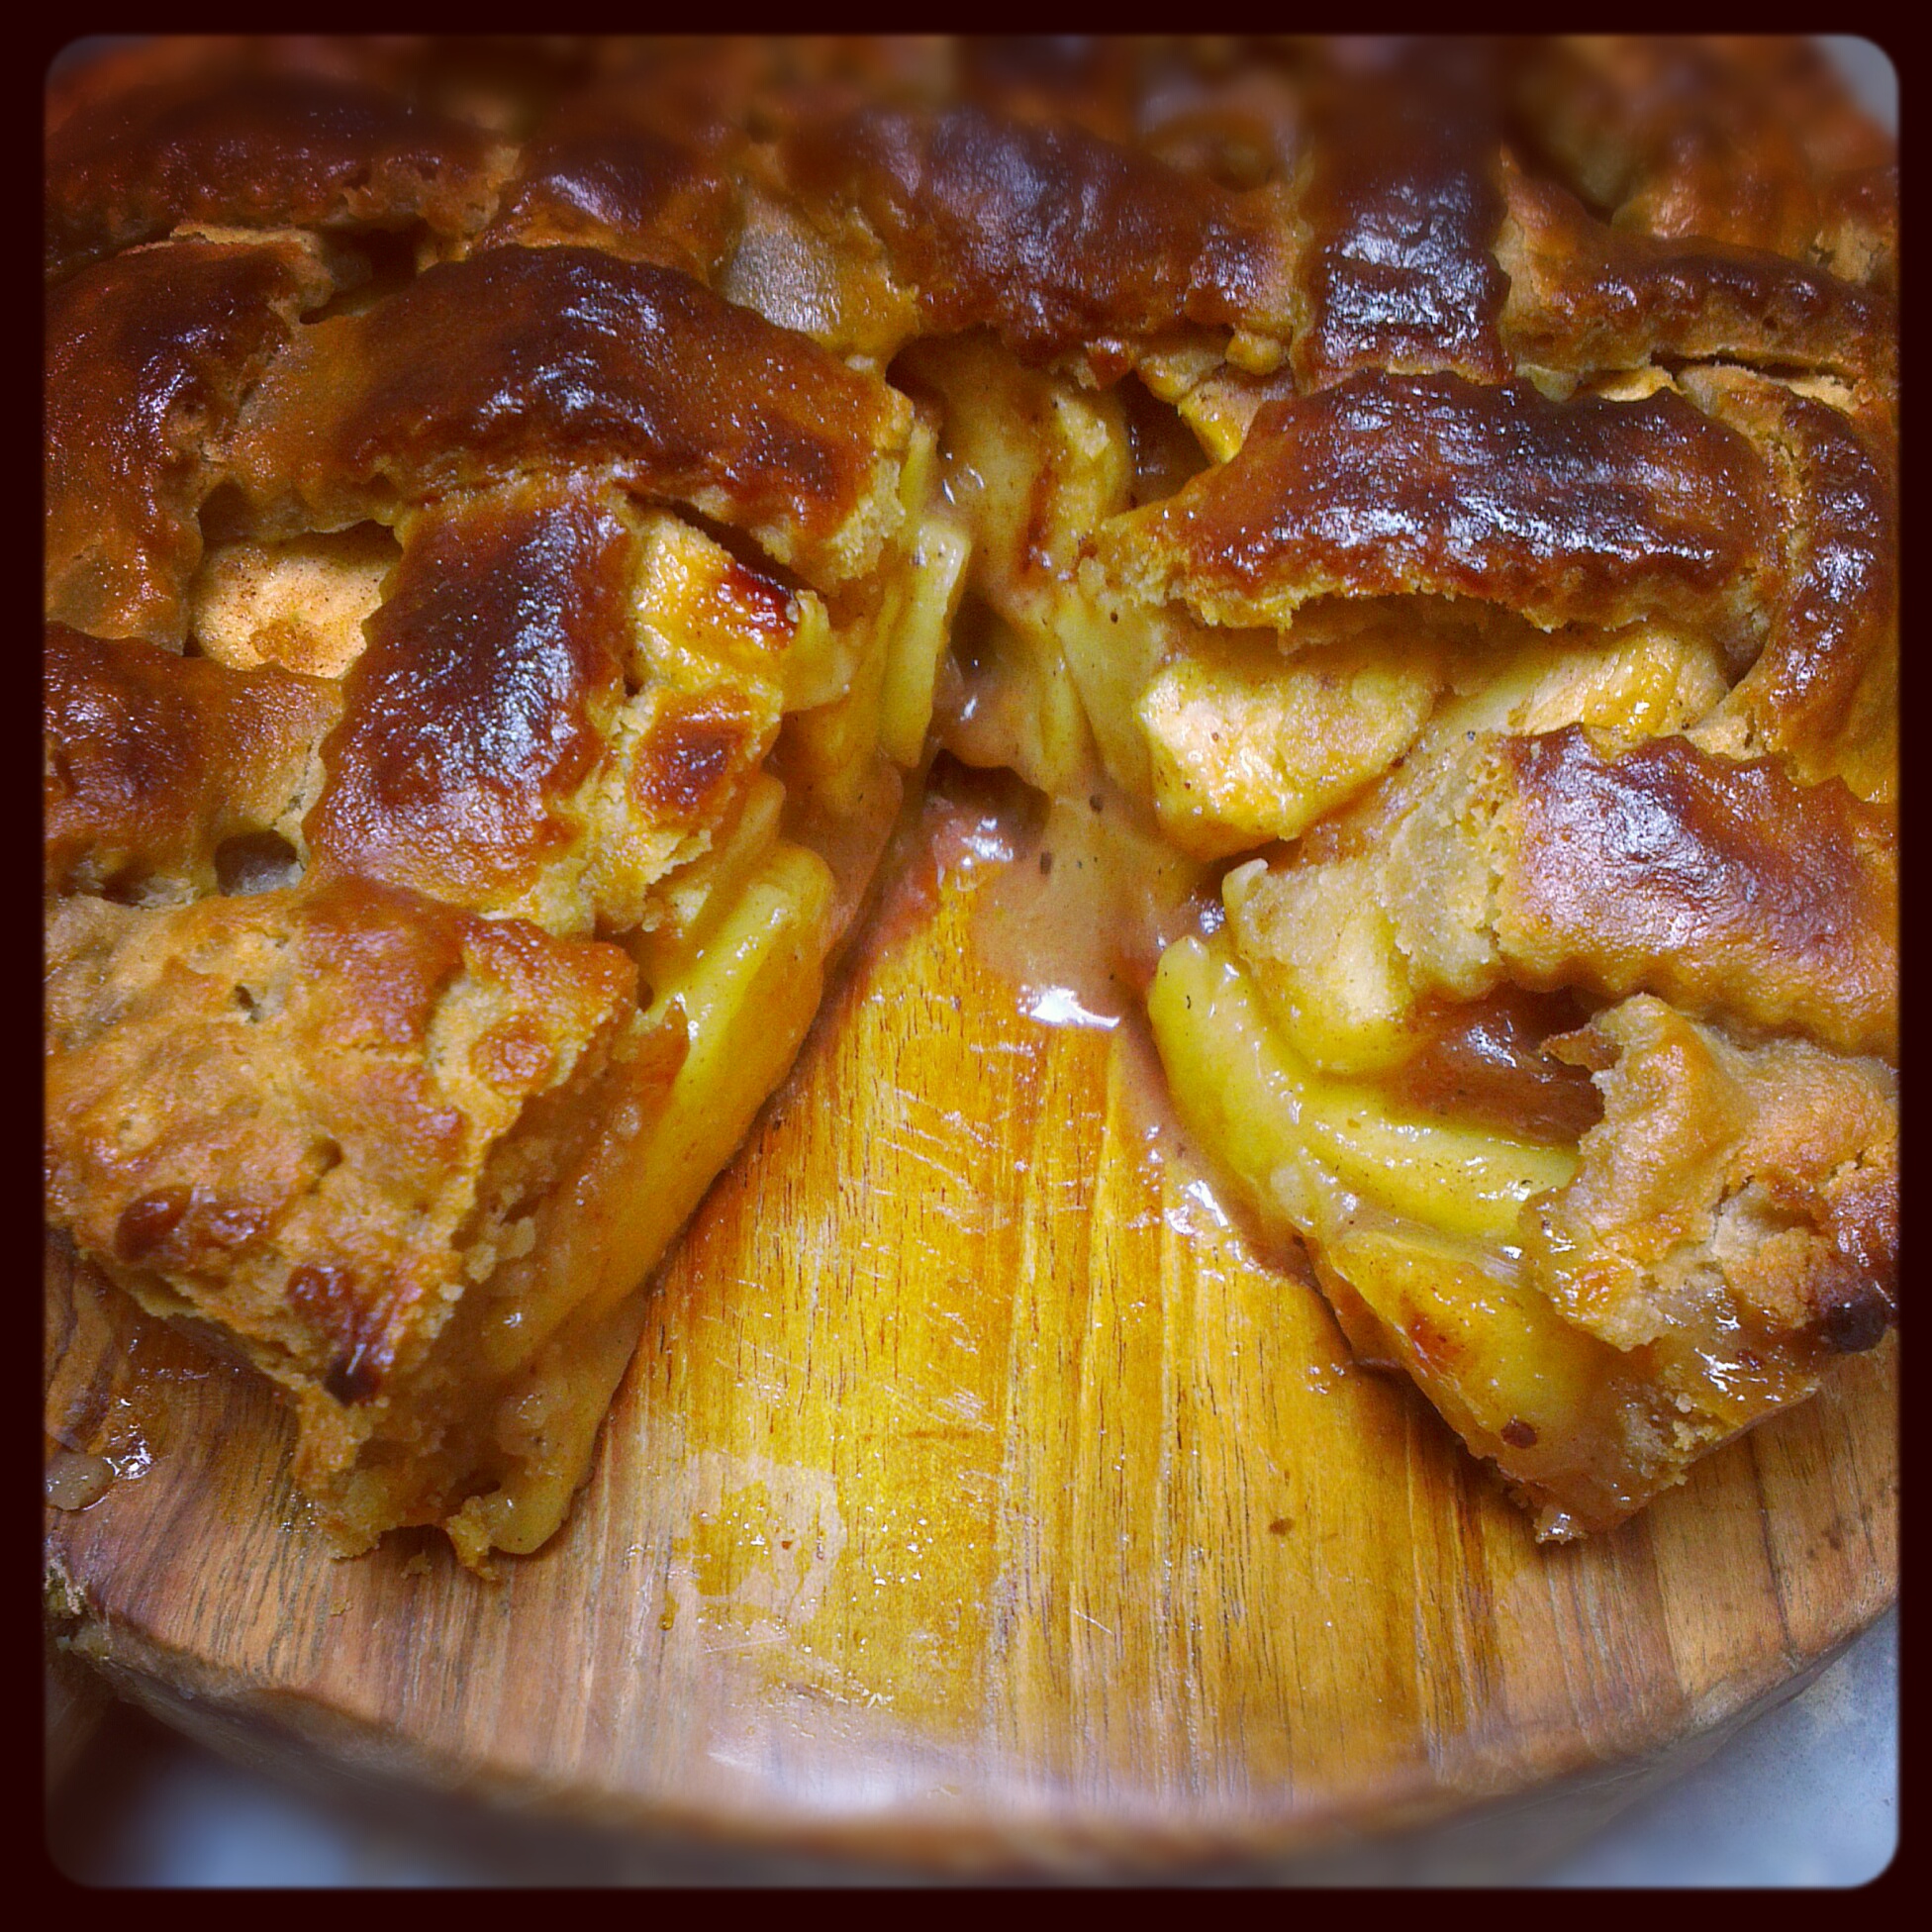
You could also bake this pie with a lattice top. Though the idea with a sealed top pie is to retain the moisture of the filling, as you can see here, a latticed top does at times yield a super juicy pie.


If this doesn’t fix the shitty few weeks, nothing will — it looks that good.
Maybe I should bake myself out of the gloominess too :-/