I’m not the greatest fan of flatbread. Relative to the time and effort it takes to knead and roll out and cook, rice has always seemed like the better alternative.
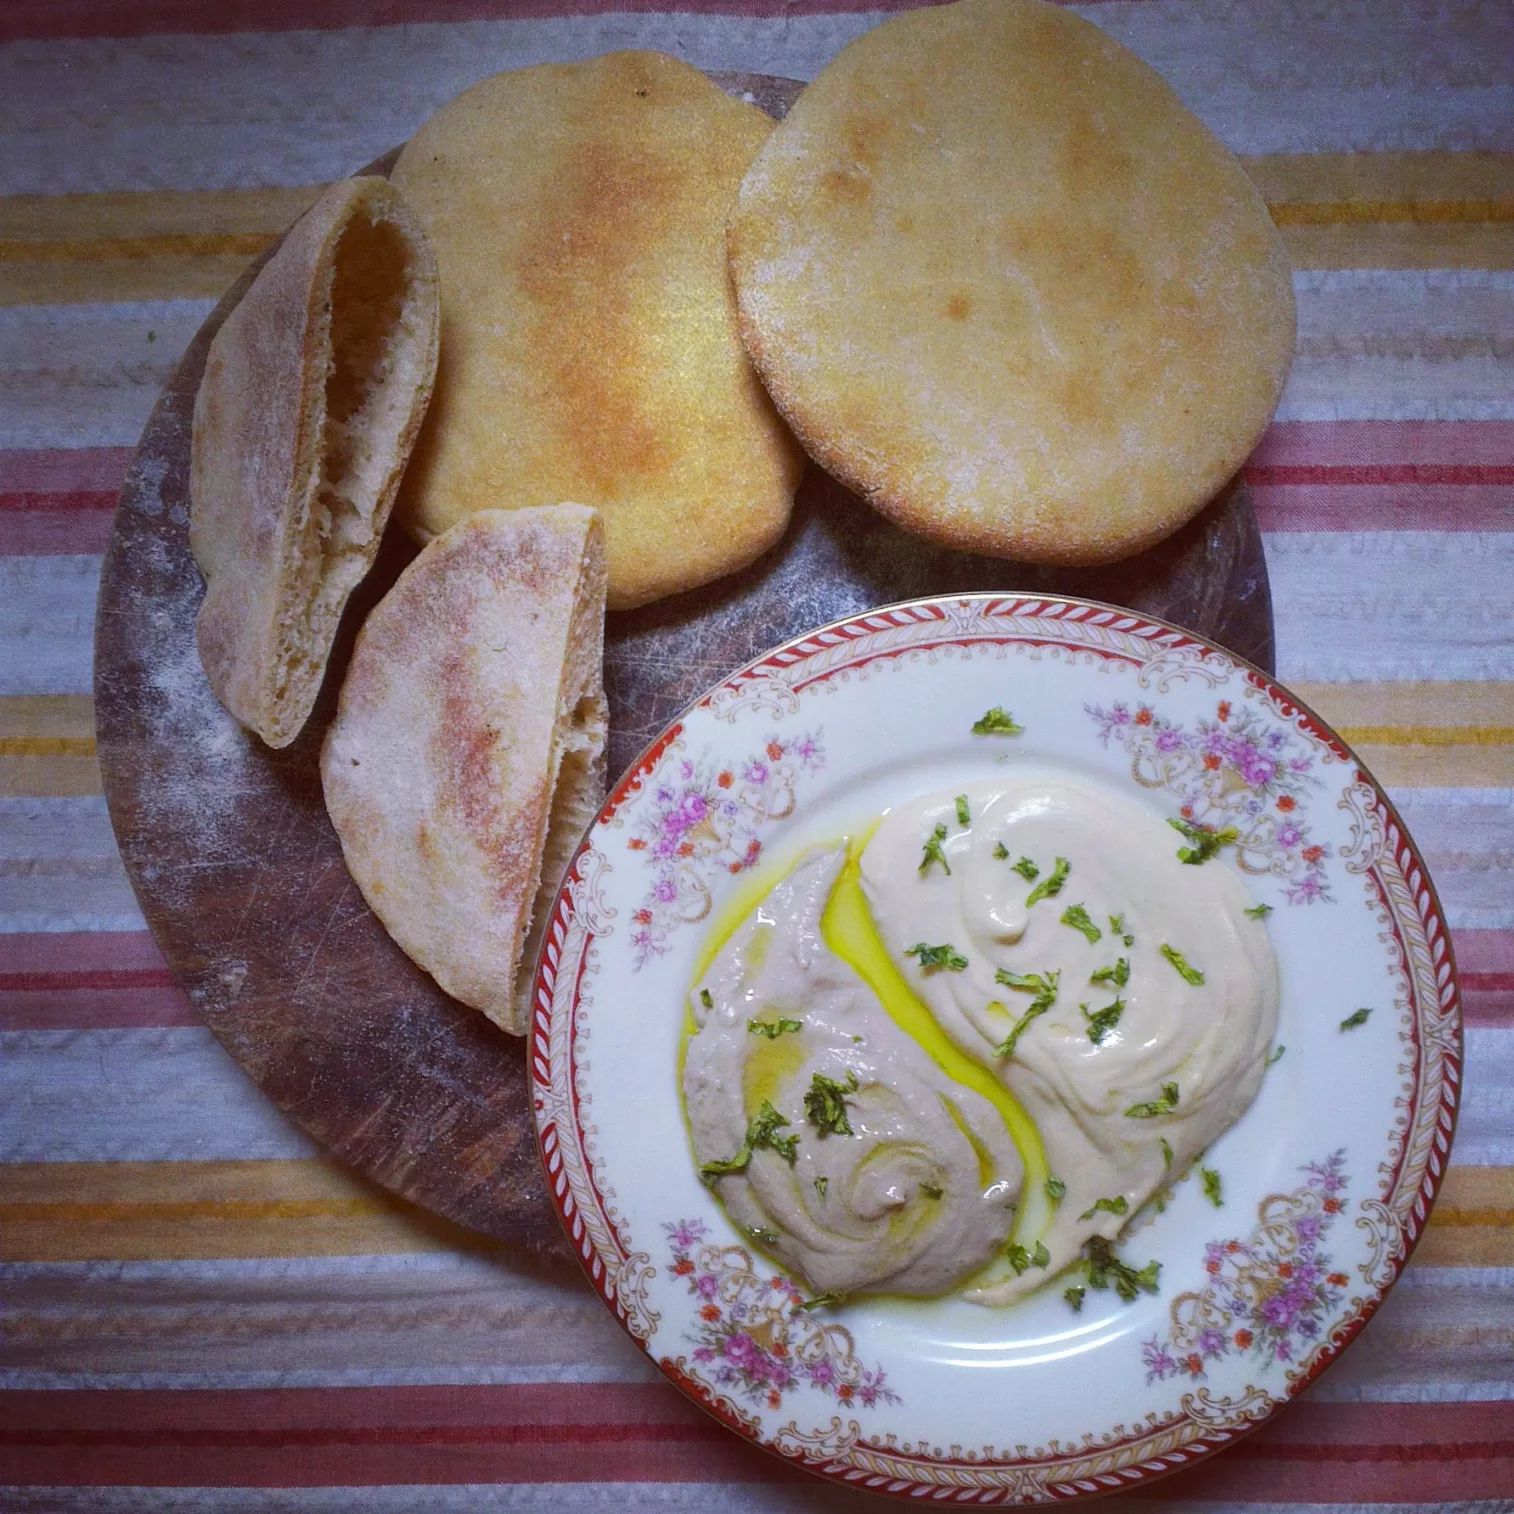
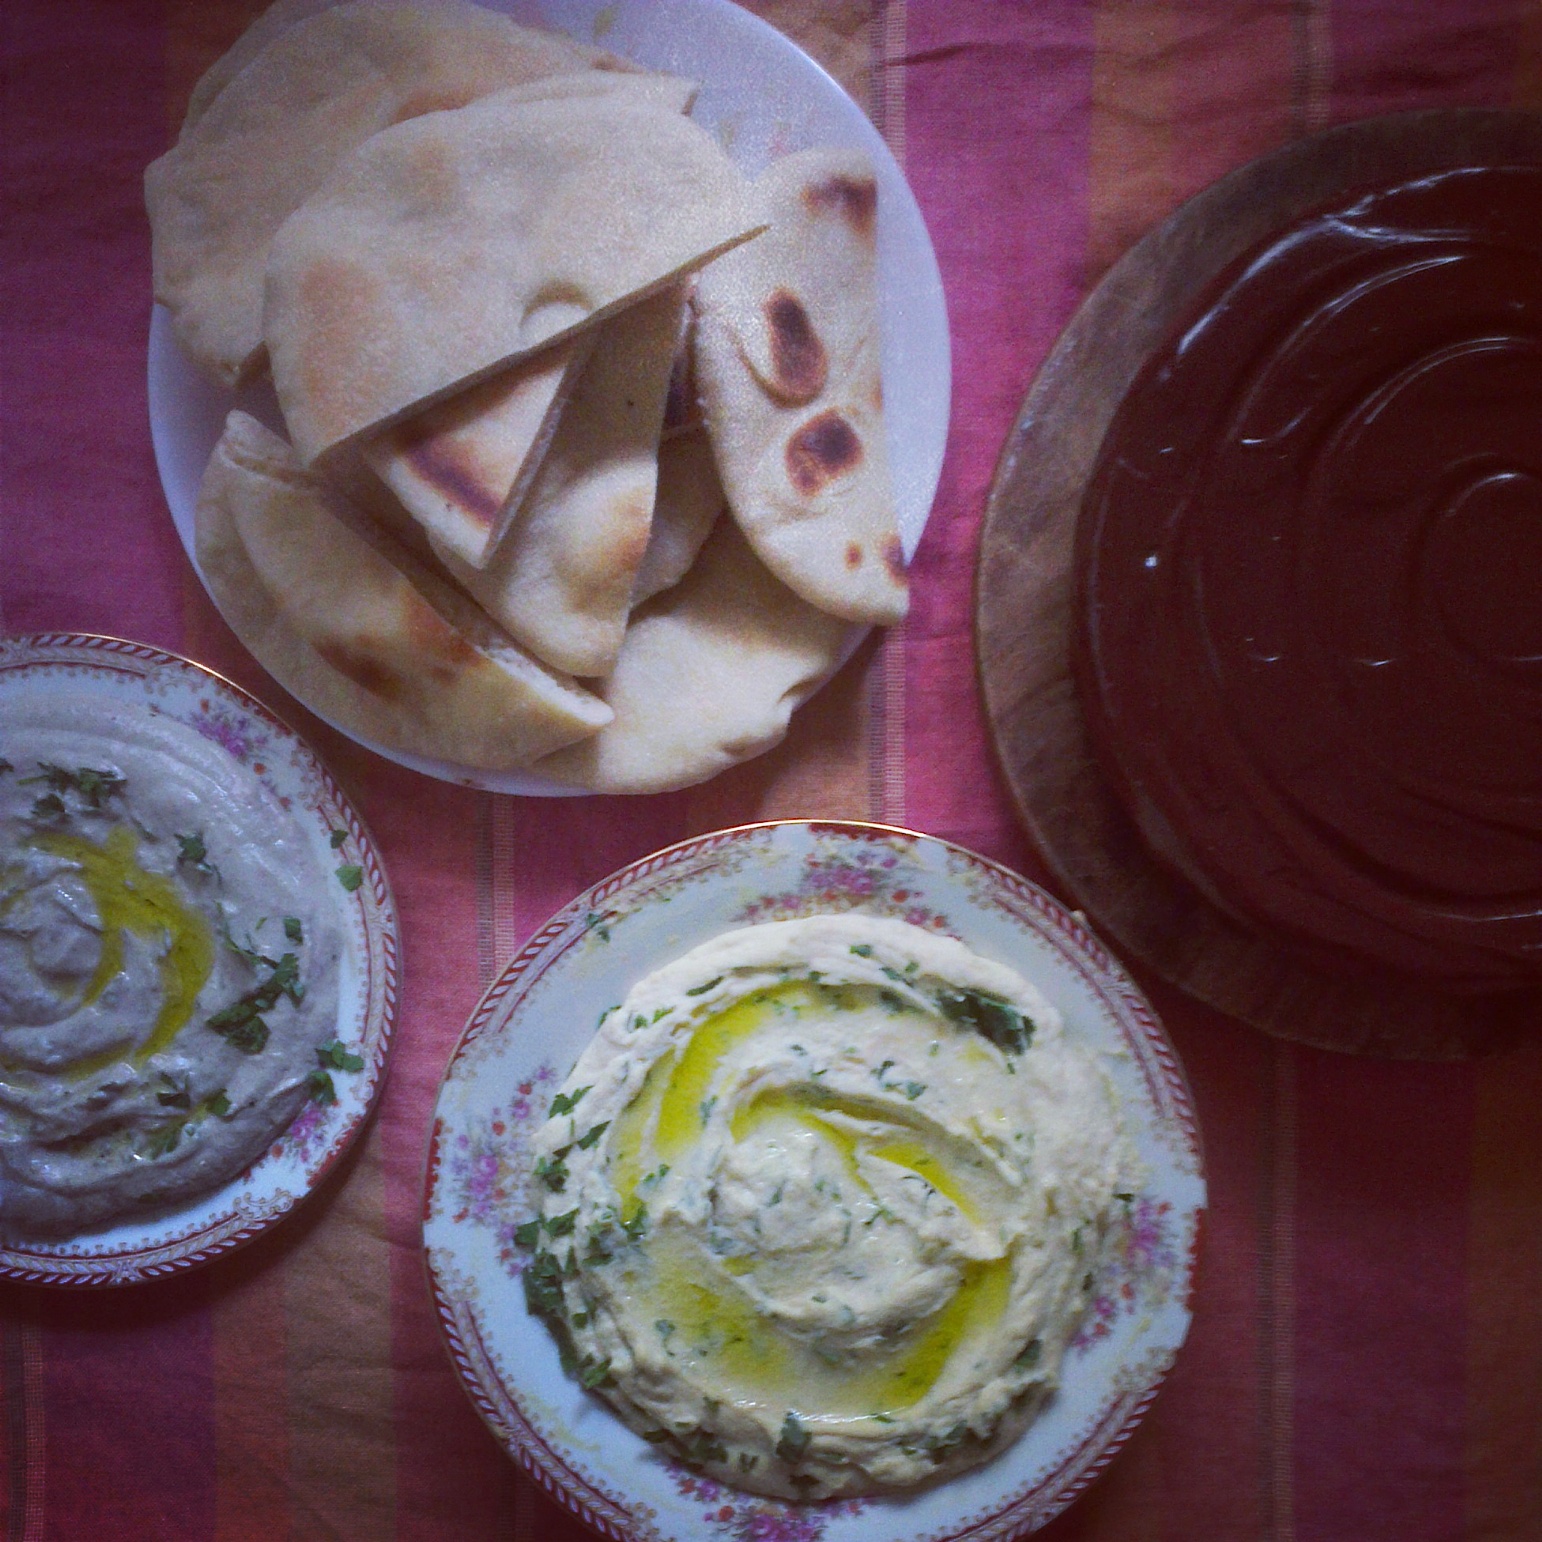
However, every time I make hummus (for which I follow this super simple recipe that always yields the lightest, fluffiest hummus (peel your chickpeas!)), I prefer having it with pita. The closest supermarket that stocks pita is around nine kilometres away from home, so I almost always end up making my own.
It has taken me some time to perfect this recipe, and I’ve found that a 30% whole wheat dough yields the lightest and most flavourful pita. You could also attempt a 50% whole wheat version, but make sure you use more water (140g atta, 140g maida, 182ml water).
If you’re looking to make a vegan version, you could skip the honey and use sugar or jaggery.
I recently learned how to make Baba Ganoush, so now I make it every time I make hummus and pita. The actual phrase translates to “pampered papa” (I’m not making this up, this is actually what Wikipedia says), which is possibly a reference to the sultan (the papa/daddy) being pampered or fussed over by his harem.
I recently made a bunch of these (three times the recipe listed below, so a total of eighteen pitas) for a small post-birthday lunch I threw for a few friends at home. I actually forgot about a few of them in the oven while baking , though I didn’t suffer any burnt pitas or other such accidents. The whole house smells of bread as it bakes, so the pita almost gives you an olfactory reminder that it is ready as it bakes. You’re best off if you have a large oven with a large baking stone on which you can bake a bunch of these at a go. Make sure you keep a pair of tongs close at hand to quickly reach into the oven with to flip the pita once they’re baked on one side.
The Pita Bread Recipe
Ingredients
Makes six medium sized pita.
Method
- Ideally, you should start making the dough the day before, for the best flavour development.
- Weigh out the flours in a bowl. Pour half into a mixing bowl (I use a non stick crock pot) along with all the other ingredients and mix till even. If using honey, measure the oil out first. The oil will evenly coat your spoon and make pouring the honey clean out of the tablespoon much easier, without leaving any residue behind to wipe out with a finger.
- Slowly add the remaining flour and mix and knead till all the flour is incorporated. Let this rest for 25 minutes to hydrate.
- Knead for about 8-10 minutes, using a stretch and fold motion till the dough is even. The dough shouldn’t be sticky (you shouldn’t have to add any extra flour like in the video linked above), and should gather up any remaining flour around it.
- Divide the dough into six equal balls and wrap them with oiled clingwrap. Let them sit in the fridge overnight, or for at least six hours.
On baking day
- 40-45 minutes before baking, place your baking stones in the oven and pre-heat at maximum temperature.
- About 30 minutes before baking/cooking, take the dough out of the fridge and let it sit for about 20 minutes.
- Roll the balls of dough into discs of approximately 100mm diameter— it should be around 5mm thick. Cover with parchment paper or clingfilm and let this rest for about 10 minutes. Gently flour the pita so it doesn’t stick to the baking stone/pan while it bakes/cooks.
- Using a peel, plate or wide spatula slip the pita onto the baking stone. Reduce the temperature of the oven to 160ºC.
- Wait till it swells up (you should be also able to smell that familiar pita smell now, this should take about 5 minutes) and then using tongs, flip it onto the other side.
- Remove when it turns a shade of golden brown.
Cooking the pita on a cast iron/aluminium pan.
- Heat the cast iron/aluminium pan on a medium flame for about five or ten minutes, as long as it takes for your pan to get really hot.
- Follow the same steps as above, placing the pita in the middle of your pan. Let it sit till it swells up and inflates.
- Flip onto the other side when it swells to its maximum swelling capacity and stays that way for a bit— 5-8 minutes. The bottom should be a golden brown.
- Let it sit on the pan for another 3-4 minutes, till the top also becomes nice and golden brown.
- Set aside, serve warm.
Pita pocket Tip: Don’t fret if your pita doesn’t gracefully expand and inhale itself into a lovely pocket. Once it comes out of the oven, or off the pan, you can slice the pita in half and use a sharp knife to cut a pocket into it. This might actually come out better than a naturally swollen pocket, since those ones tend to have uneven thicknesses (one side thicker than the other).
The Baba Ganoush Recipe
Ingredients
1 big brinjal/aubergine/eggplant
5 cloves of garlic
½tsp salt
2tbsp tahini
Juice of half a lemon
1tbsp olive oil
Extra virgin olive oil
A small bunch of parsley
Method
- Using a paring knife, stab five slits into the body of the brinjal, evenly all around it. Slip the whole cloves of garlic into each one of these slits till they’re buried deep.
- Rub the body of the brinjal with olive oil and sprinkle salt all over it.
- Roast this in an oven at 150ºC for about 40 minutes. Placing the brinjal on a sheet of foil makes sure the heat reflects from under and does its underside too.
- Around 20 minutes into the bake turn the brinjal over so it roasts evenly.
- Once baked, remove from the oven and slit the brinjal open with a sharp knife (and fork, since it’ll be piping hot by now).
- Scoop out the innards and transfer into a glass or ceramic bowl.
- Add the salt, tahini and lemon juice and mix in using a fork or hand blender (if you want it nice and even).
- Add the extra virgin olive oil slowly, in a trickle, while stirring/blending. This should lighten the colour of the Baba Ganoush and prevent it from having the complexion of death.
- Chop the parsley fine and mix it in. Serve with the pita you just made.



Ive used SMittens Pita recipe but made it on the tava. Im going to try it in the oven the next time around.. And if you can go through the effort of making Pita in the oven, rotis will be such a breeze!